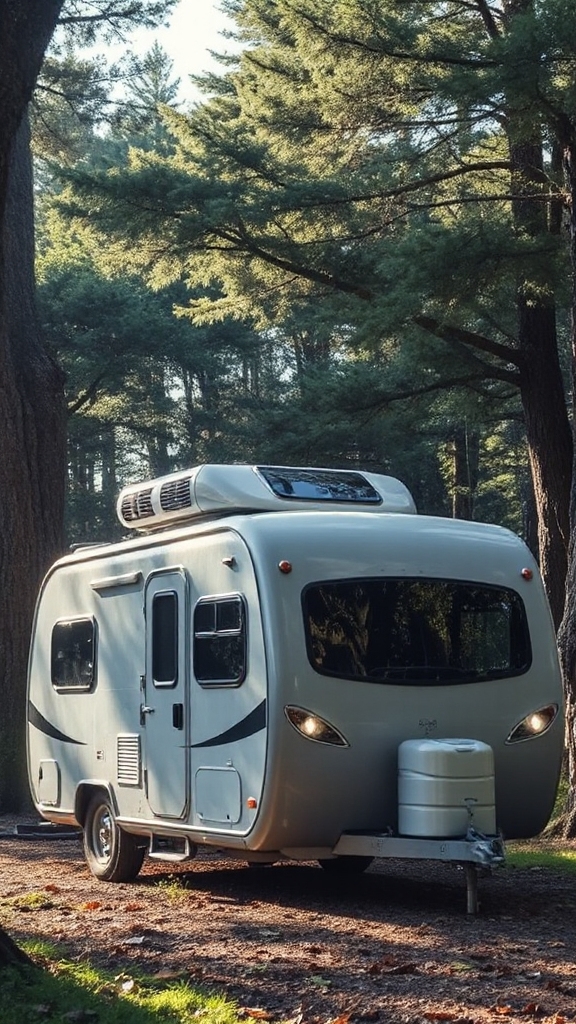
Renovating a camper is exciting—until you’re knee-deep in wires, wood dust, and wondering why your drill bit just snapped. If you’ve ever stared at your RV’s outdated interior and thought, “How hard could it be?”, you’re in good company.
I’ve been there too—eager, Pinterest-inspired, and wildly underprepared for what it would actually take to pull off a functional and beautiful camper renovation.
Whether you’re gutting a vintage trailer or updating a family camper, this guide will walk you through the essentials—from tools and budget planning to lighting, layout, and personal touches—so your renovation actually gets done (and looks the way you pictured it).
Essential Tools You’ll Need for Your Camper Renovation
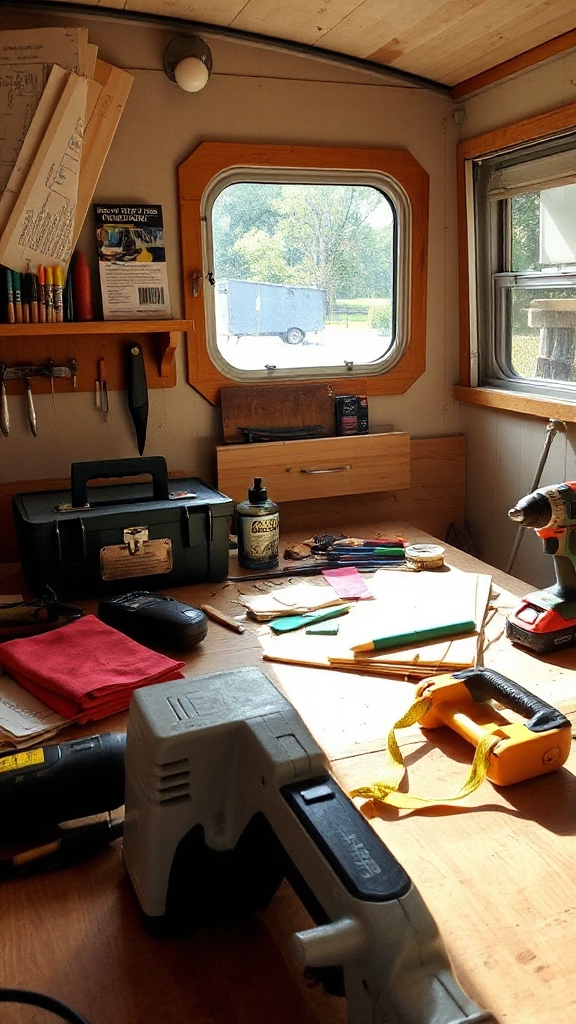
Success in camper renovation begins with assembling the right set of tools.
You’ll need a versatile cordless drill with multiple bits, an air compressor with pneumatic tools for paneling, and an oscillating multi-tool for precision work.
A reliable 12 Volt air compressor can help maintain equipment and clean vents during your renovation project. Keep a set of spare electrical wire on hand for any wiring repairs or custom electrical projects.
RELATED: Your Complete Summer Guide to Coastal Camping Along California’s Shoreline!
Setting a Realistic Budget and Timeline
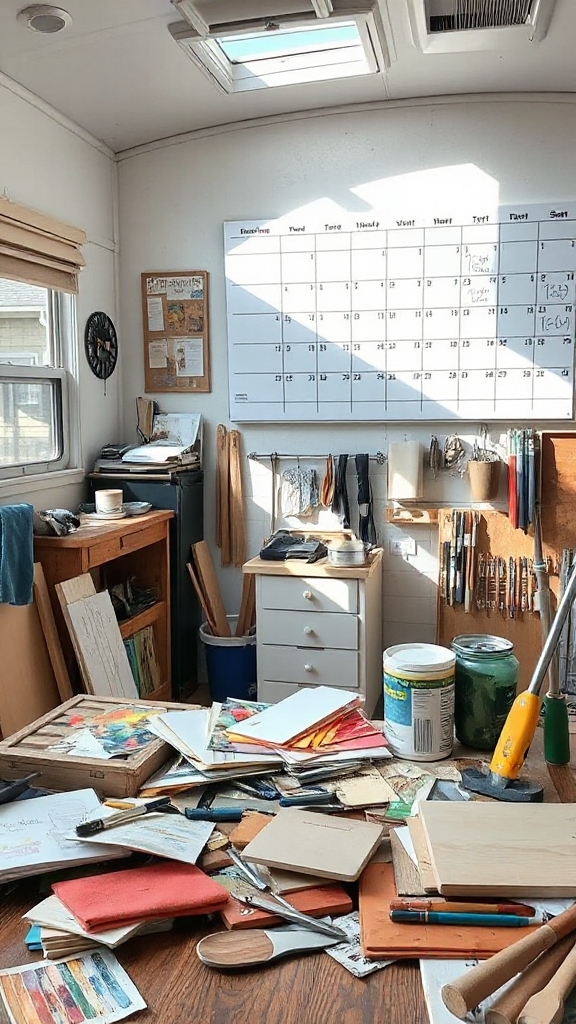
Before diving into your camper renovation, you’ll need to establish both a realistic budget and timeline to avoid costly overruns and delays.
Plan to spend between $1,600 and $16,000 for renovations, depending on your camper’s condition and desired upgrades. Set aside 15-20% for unexpected repairs, and expect the project to take 4-8 weeks, including buffer time for potential setbacks.
RELATED: Maintenance Guide: Prepping Your Camper for a Stress-Free Summer Trip!
Deep Cleaning Your Camper Before Starting

A thorough deep cleaning of your camper serves as the foundation for any successful renovation project.
Start by steam-cleaning the interior surfaces and ventilating properly to prevent moisture buildup. Focus on high-traffic areas first, using microfiber mops for efficient floor cleaning. For extended freshness in storage areas, sprinkle boxes of baking soda to absorb any lingering odors.
RELATED: 45 Summer Campsites in the USA That Feel Like a Dream!
Checking for Water Damage and Leaks

With your camper thoroughly cleaned, detecting potential water damage becomes the next priority in your renovation journey.
Start by inspecting roof seams, vents, and window seals for signs of leaks or deterioration. Use a moisture meter to identify hidden water damage in walls and ceilings, and pay attention to discoloration patterns that might reveal leak sources.
Upgrading Your Electrical System Safely

When upgrading your camper’s electrical system, safety must be your top priority. Start by testing campground power with a polarity tester and install surge protectors to prevent damage.
You’ll need to calculate your power needs carefully, factoring in all appliances’ wattage requirements.
Choosing the Perfect Interior Color Scheme
Selecting the right color scheme stands as one of the most impactful decisions you’ll make during your camper renovation.
Start with a light, neutral base like white or gray to create an airy feel, then layer in personality through strategic accents. Consider navy cabinets for retro vibes, or incorporate botanical prints on cushions to complement woodgrain finishes.
Smart Storage Solutions for Small Spaces

Making the most of every square inch becomes the next big challenge after choosing your color palette.
Start by installing vertical shelves and magnetic strips for maximizing wall space, then add slide-out drawers under furniture for hidden storage.
Utilize over-the-door organizers and stackable bins for clothing, while incorporating corner shelves and PVC pipe organizers to transform unused spaces into functional storage areas.
Installing Modern LED Lighting
Lighting can transform your camper’s interior from dim and dated to bright and modern with the right LED upgrades.
You’ll benefit from significant power savings while enjoying brighter, cooler illumination throughout your space. With basic tools and safety precautions, you can complete this upgrade yourself, enhancing both functionality and ambiance.
Selecting Durable Flooring Materials

With your lighting system upgraded, your next major interior enhancement focuses on the foundation beneath your feet.
When selecting RV flooring, prioritize waterproof luxury vinyl planks or Mohawk RevWood Plus laminate. These options offer durability against pet claws and heavy traffic while maintaining essential weight requirements.
For professional results, make sure materials acclimate in your RV for 48-72 hours before installation.
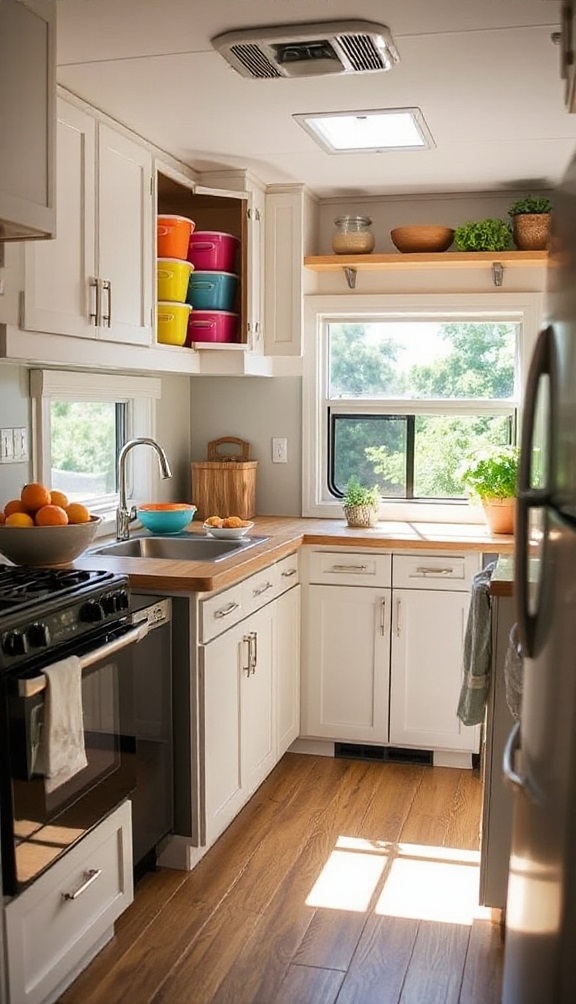
Maximizing Counter Space in Your Kitchen

Three key challenges face every RV kitchen owner: limited counter space, storage constraints, and the need for efficient workflow.
Combat these issues by installing multi-functional accessories like roll-up dish drying racks and custom sink covers that create instant workspace.
Maximize vertical storage with magnetic strips and wall-mounted racks, while utilizing nesting cookware and collapsible tools to optimize cabinet space.
Creating a Cozy Sleeping Area

Sleep comfort anchors the success of any camper renovation, making your sleeping area’s design a top priority.
Consider installing a built-in platform bed with under-storage compartments, or opt for a space-saving Murphy bed system that folds away during daytime use.
Layer your bed with quilted bedspreads and plaid throws for rustic charm, and don’t forget to add a quality memory foam topper for enhanced comfort.
Bathroom Renovation Essentials

When tackling a camper bathroom renovation, you’ll need to address several essential elements to create a functional and attractive space that withstands the rigors of travel.
Start by thoroughly degreasing and inspecting all fixtures, ensuring proper ventilation and waterproofing.
Consider updating hardware, applying epoxy coatings to refresh surfaces, and installing durable, water-resistant flooring that’s easy to maintain.
DIY Cabinet Makeover Tips

Successfully transforming your camper’s cabinets requires careful preparation and the right approach to guarantee long-lasting results.
Start by thoroughly cleaning surfaces with a degreaser and removing all hardware.
Choosing Space-Saving Furniture

Making the most of limited space in your camper requires careful consideration of furniture choices that blend functionality with efficiency.
Focus on multi-purpose pieces like convertible sofas and dinette tables with storage compartments.
When selecting furniture, you’ll need to factor in weight limitations, guarantee proper distribution in slide-outs, and choose lightweight materials that won’t compromise your camper’s structural integrity.
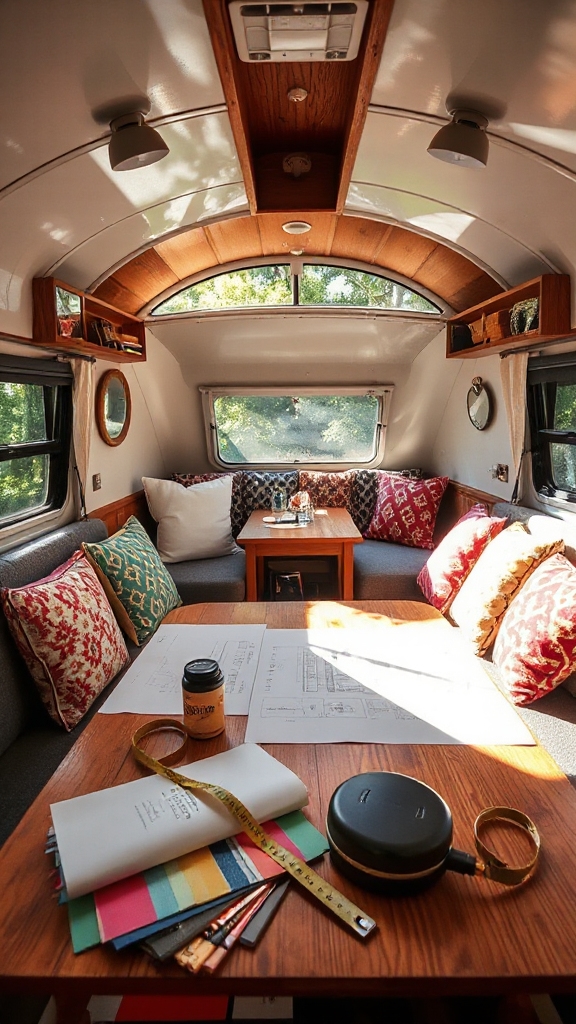
Adding Personal Style With Textiles

Transforming your camper’s interior with textiles offers an affordable and versatile way to express your personal style.
Select durable, washable fabrics like polyester or cotton blends that can withstand outdoor conditions.
Mix patterns and textures thoughtfully, balancing busy designs with neutral elements, and incorporate personal touches through throw pillows, blankets, and wall hangings.
Ventilation and Air Flow Improvements

Proper ventilation serves as the cornerstone of a comfortable camper experience, directly impacting both air quality and temperature control.
You’ll need to focus on installing roof vents and window vents for effective cross-ventilation. Consider adding a powered fan, like a Fantastic Fan, to boost airflow efficiency.
Weather-Proofing Your Camper
Effective weather-proofing stands as one of the most essential aspects of camper renovation, protecting your investment from moisture damage, temperature fluctuations, and environmental wear.
Start by applying silicone sealant around windows and access panels, then install foam-based skirting to create a thermal barrier.
Installing Solar Power Options

While a weather-proof camper keeps the elements out, solar power brings sustainable energy in.
Calculate your daily energy needs and evaluating your roof’s capacity for panels. Choose between monocrystalline or polycrystalline panels based on efficiency needs, and don’t forget to install proper safety features like fuses and circuit breakers.
Creative Ways to Add Natural Light

Natural lighting transforms a camper’s interior from dim and confined to bright and welcoming.
Replace dated window coverings with sheer curtains on tension rods, and add removable frosted window films for privacy.
Install mirrored backsplashes or position decorative mirrors opposite windows to amplify sunlight.
Organizing Your Outdoor Storage

Just as natural light brightens your camper’s interior, smart outdoor storage solutions keep your exterior organized and functional.
Maximize your space by installing wall-mounted racks and using clear, stackable containers with proper labels.
Utilize under-camper storage with waterproof bins for essential gear, and incorporate slide-out drawers for easy access to tools and equipment.
Safety Features Every Camper Needs

When renovating your camper, safety features should be your top priority, as they protect both you and your investment during your travels.
Install essential devices like carbon monoxide detectors, smoke alarms, and GFCIs to prevent electrical hazards.
Water System Updates and Maintenance

A well-maintained water system serves as the lifeline of your camper, directly impacting your comfort and daily activities while on the road.
Thoroughly draining and sanitizing your freshwater tanks with a bleach solution, then inspect all pipes and fittings for leaks.
Space-Efficient Kitchen Organization

Because efficient kitchen organization can make or break your camper lifestyle, mastering space-saving techniques becomes essential for comfortable living on the road.
Consider installing magnetic strips for knife storage, utilizing under-cabinet hooks for utensils, and implementing collapsible silicone tools.
Replace bulky appliances with multi-use alternatives, like instant pots, and opt for nesting cookware sets with interchangeable lids to maximize your limited space.
Installing Multi-Purpose Furniture

Smart furniture choices in your camper renovation can transform a cramped space into a versatile living area that adapts to your needs.
Install convertible sofa beds and storage-integrated ottomans to maximize functionality. When selecting pieces, opt for lightweight materials and verify load limits for slide-outs.
Adding Entertainment and Tech Features

Transforming your camper’s entertainment setup can greatly enhance your home-away-from-home experience.
Start by upgrading to a 4K TV with an adjustable mount, and add a quality soundbar for immersive audio.
Integrate smart home features and gaming consoles to expand your entertainment options, and don’t forget to include proper storage solutions for electronics and accessories.