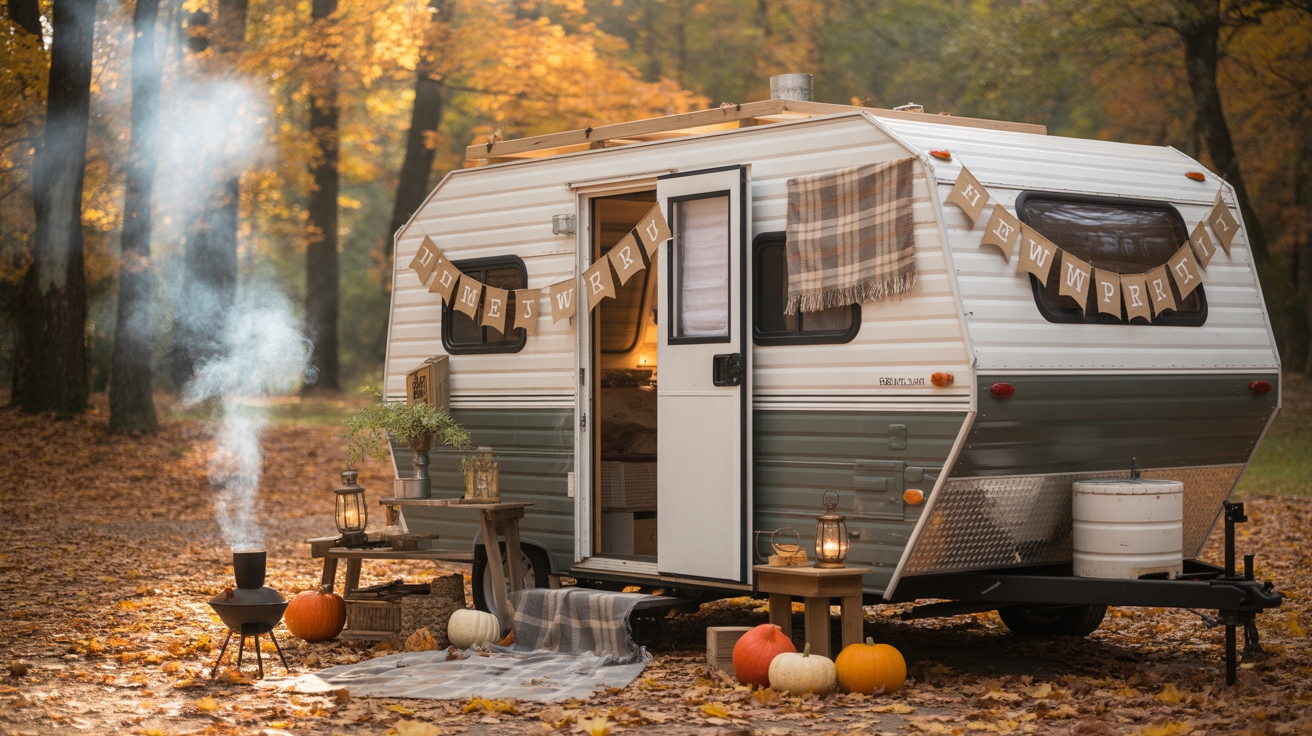
You’ve probably scrolled past those luxury RV transformations thinking they’re impossible on your budget.
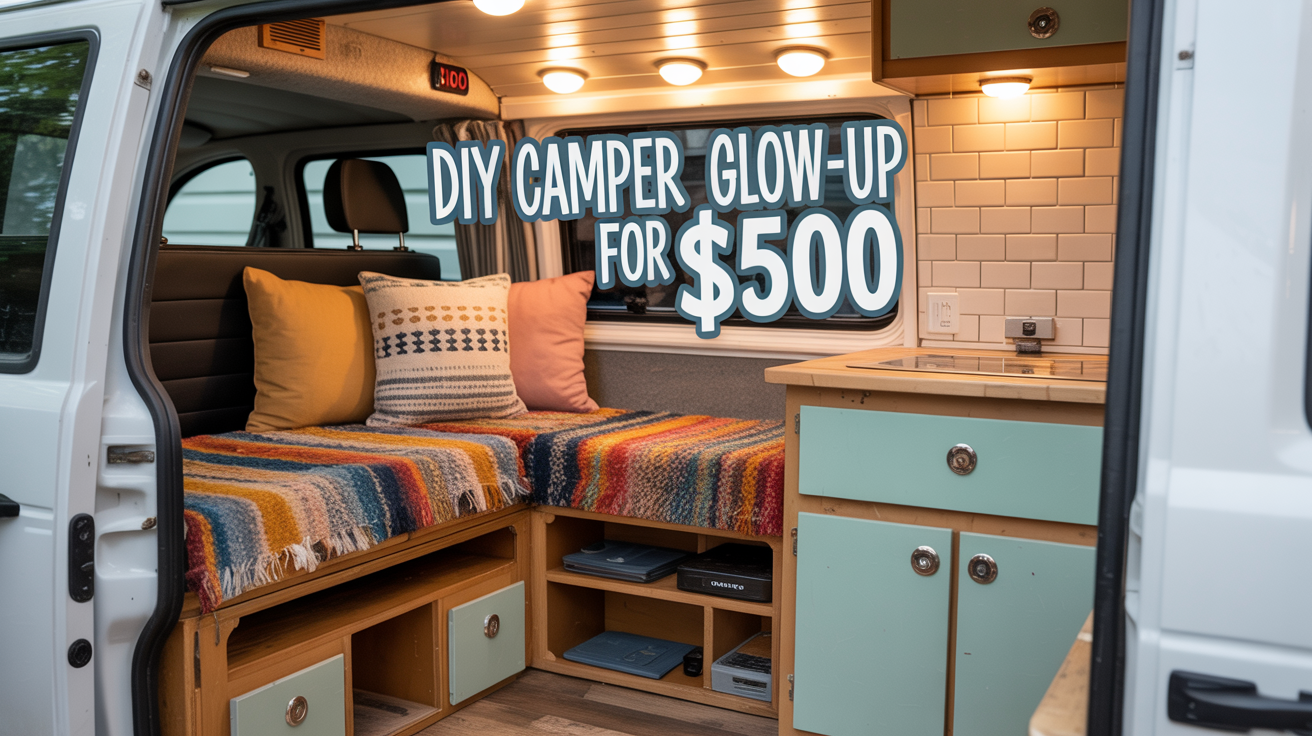
Here’s the truth: we completely redesigned our dated camper for just $500, and guests now assume we hired professionals.
The secret isn’t spending more—it’s knowing exactly where every dollar goes and which corners you can’t afford to cut.
Setting Our $500 Budget and Sticking to It
Five hundred dollars doesn’t sound like much when you’re planning a complete camper makeover, but that’s exactly what makes this budget challenge both exciting and achievable.
You’ll need to track every penny, prioritize essential upgrades, and get creative with DIY solutions.
RELATED: 21 Genius Camping Setup Ideas for a Cozy and Organized Campsite!
Creating a Priority List: What Had to Go vs. What Could Stay
When you’re working with a tight budget, you’ll need to evaluate every single item in your camper with a critical eye.
Start by listing damaged items that compromise function or safety—these must go.
Next, identify what’s structurally sound but outdated.
You’ll keep functional pieces like cabinets and benches, focusing your limited funds on surface treatments, hardware, and textiles that deliver maximum visual impact.
RELATED: 18 Glamping-Style Camping Setup Ideas for a Luxe Outdoor Experience!
The Power of Paint: Why We Spent $150 on Quality White Paint
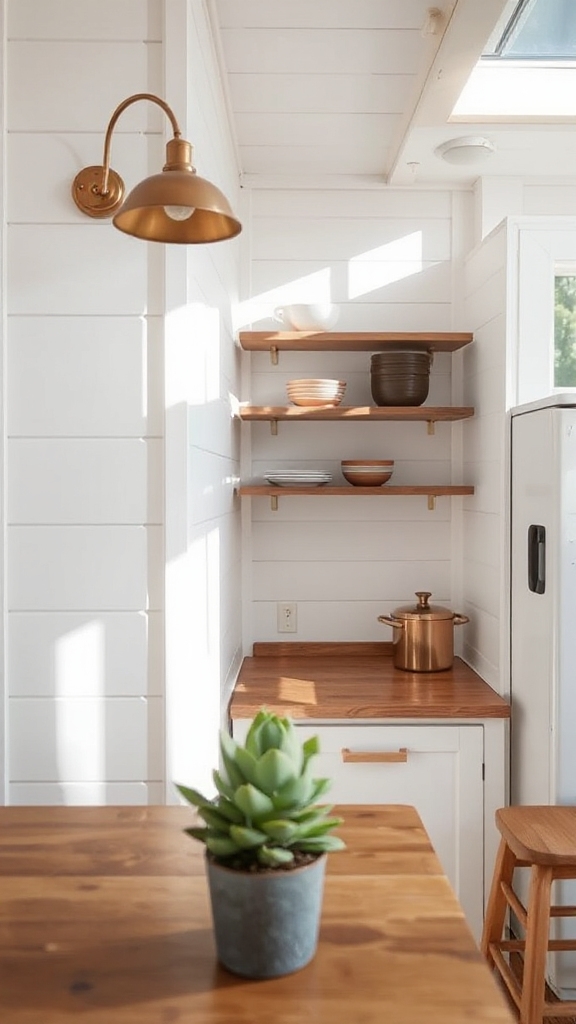
After stripping out the damaged parts and deciding what to keep, you’re ready for the single most transformative step in your camper renovation—painting.
We invested $150 in premium white paint instead of cheaper options. Quality paint provides better coverage, requires fewer coats, and resists moisture damage.
You’ll save time and money long-term while achieving that bright, professional finish that makes everything else look expensive.
RELATED: How to Remodel a Tiny Camper With No Experience — Step-by-Step!
Ripping Out the Old: Demo Day for Under $20

Before you can create your dream camper, you’ll need to gut the old interior—and it doesn’t have to break the bank.
For under $20, you’ll get a basic crowbar, utility knife, and heavy-duty trash bags. Start by removing old cushions, carpeting, and fixtures.
Work systematically from top to bottom, saving any hardware you can reuse. This demolition phase takes just one weekend.
RELATED: 24 Small Camper Renovation Ideas That Add Serious Function & Value!
Facebook Marketplace Gold: Scoring Free and Cheap Materials
Now that your camper’s stripped down to bare bones, you’re ready to hunt for materials without emptying your wallet.
Facebook Marketplace becomes your best friend for scoring free lumber, leftover paint, and surplus flooring. Set alerts for keywords like “renovation leftovers” and “moving sale.”
You’ll find contractors dumping excess materials and homeowners clearing garages. Check listings daily—the best deals disappear within hours.
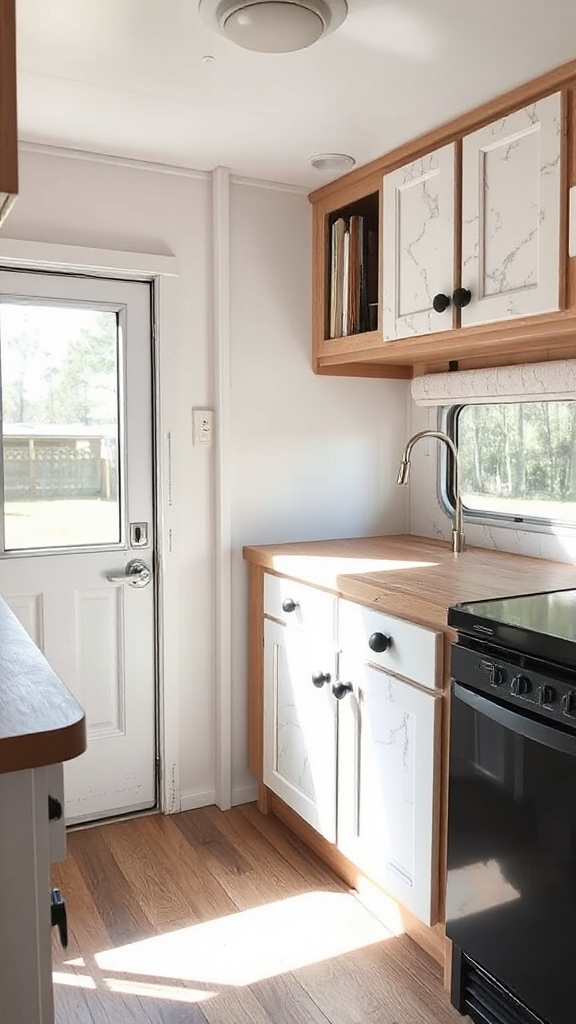
DIY Peel-and-Stick Backsplash That Looks Like Real Tile

Your kitchen backsplash can transform from builder-grade bland to magazine-worthy stunning with today’s peel-and-stick tiles that fool even experienced contractors.
We choose realistic subway tiles, mosaic patterns, and marble designs under $30 per pack. They’re waterproof, heat-resistant, and install in minutes.
Simply clean the wall, measure twice, and press firmly. Unlike traditional tile, you won’t need grout, special tools, or professional help.
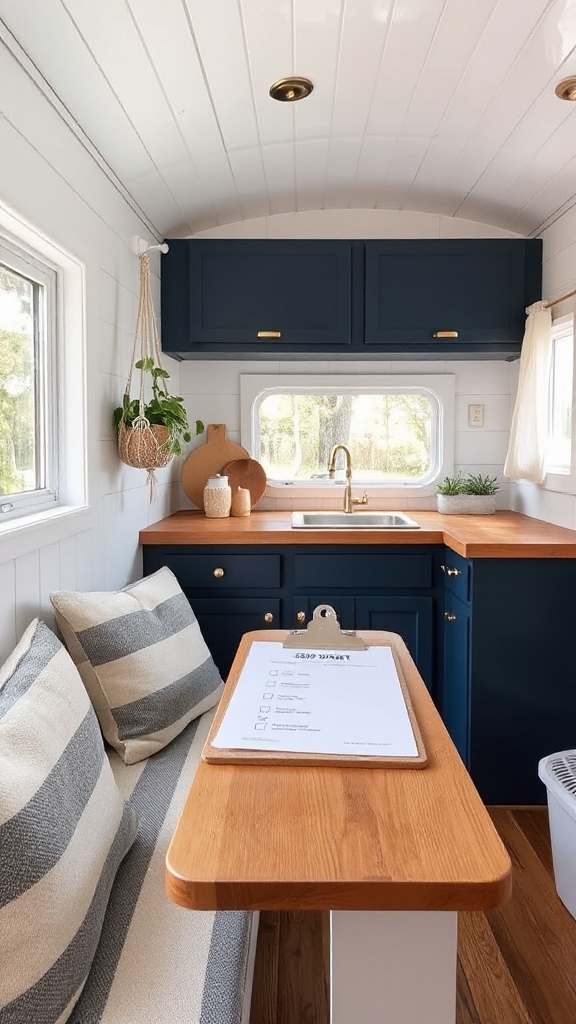
Transforming Cabinets With Contact Paper and New Hardware
Cabinet doors and drawer fronts offer the next big opportunity for dramatic change without demolition.
You’ll transform outdated surfaces with wood-grain or marble contact paper, measuring carefully before cutting. Remove old hardware, fill holes if needed, and install modern pulls or knobs.
This simple upgrade costs under $50 but delivers high-end results that’ll make your camper’s interior look professionally designed.
The $30 Flooring Solution That Changed Everything
After completing your cabinet transformation, you’ll want to tackle the floor that ties everything together.
Peel-and-stick vinyl planks offer an affordable, durable solution that installs in hours. You’ll need a utility knife, measuring tape, and straight edge.
Simply clean the existing floor, measure carefully, and press each plank firmly into place. The wood-look finish instantly modernizes your camper’s interior while protecting the original flooring underneath.
Sewing New Cushion Covers From Thrifted Fabric
Three thrifted bedsheets can transform your camper’s entire seating area for under $20.
You’ll need basic sewing skills, but don’t worry—straight seams work perfectly. Measure your cushions, add two inches for seam allowances, and cut accordingly.
Choose coordinating patterns or stick with solids for a cohesive look. Iron-on hem tape offers a no-sew alternative if you’re pressed for time or lack equipment.
Building Custom Storage Solutions From Scrap Wood
Transform leftover lumber and old pallets into clever storage compartments that’ll maximize every inch of your camper’s limited space.
You’ll need basic tools, wood screws, and sandpaper. Measure your available areas first, then cut pieces to fit.
Create sliding drawers under benches, wall-mounted shelves above windows, and hidden compartments beneath floors.
Sand rough edges smooth, and you’ve built functional storage practically free.
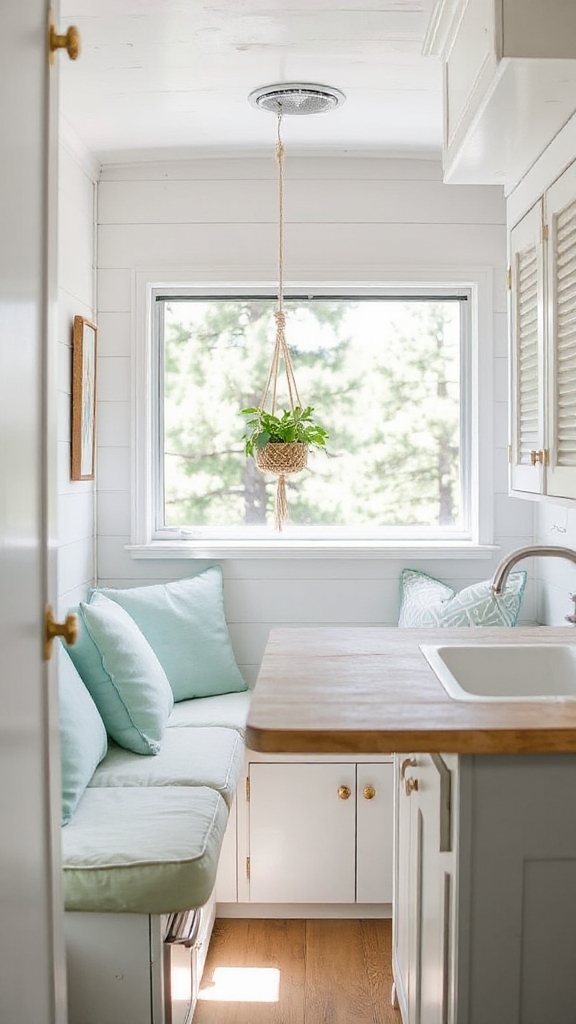
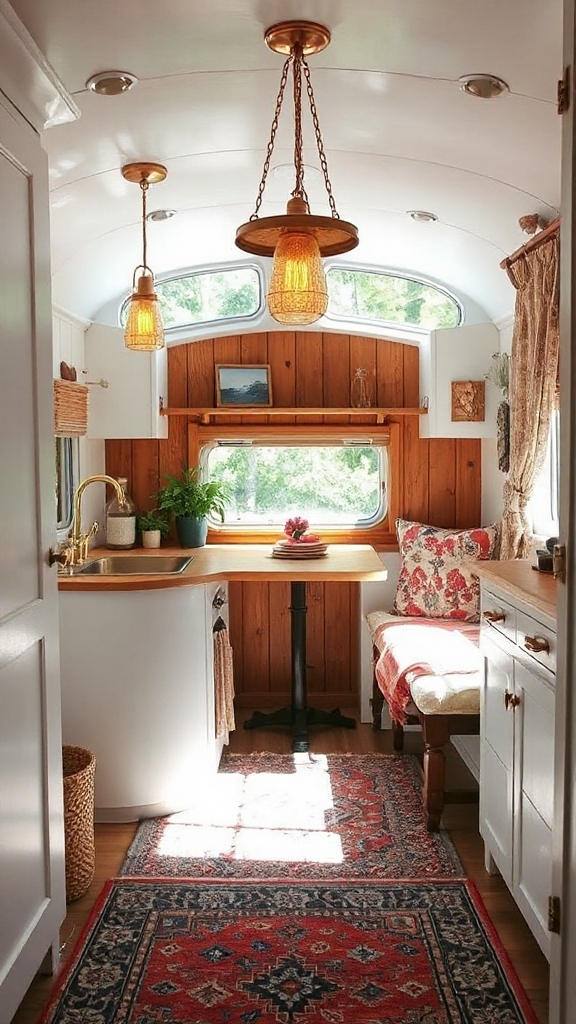
Creating a Cozy Bedroom Nook on a Shoestring
While your storage solutions take shape, you’ll want to focus on turning your sleeping area into a comfortable retreat without breaking the bank.
Layer thrift store blankets and pillows for depth and warmth. Hang battery-powered string lights overhead for ambiance.
Add peel-and-stick wallpaper behind your bed as an accent wall. These simple touches transform your basic sleeping quarters into an inviting sanctuary.
Lighting Upgrades That Made the Biggest Impact
Good lighting can completely change how your camper feels and functions.
You’ll find swapping harsh overhead fixtures for warm LED strips creates instant ambiance.
Battery-powered puck lights under cabinets brighten dark corners without rewiring.
Installing dimmers on main lights lets you adjust brightness for different activities. These simple upgrades cost under $75 total but transform your space from cramped to cozy.
Adding Personal Touches With Dollar Store Decor
Most dollar store finds can transform your camper’s personality without breaking your budget.
You’ll discover countless options like adhesive wall decals, decorative storage baskets, and artificial plants that add warmth.
We’ve used battery-operated string lights, colorful throw pillows, and small picture frames to create a cozy atmosphere.
These affordable touches make your space feel uniquely yours while maintaining that designer look.
The Final Reveal: Breaking Down Every Dollar Spent
After completing every upgrade and decoration, you’ll want to see exactly where your money went in this budget-friendly transformation.
You’ve spent $150 on paint, $120 on fabric, $80 on hardware, $75 on lighting, and $75 on dollar store decor.
That’s exactly $500 total, proving you can achieve professional results without breaking the bank when you plan carefully and shop strategically.
Lessons Learned: What We’d Do Differently Next Time
Looking back at this $500 camper makeover, several key insights emerged that would’ve saved time, money, and frustration.
Measure twice before cutting fabric, buy paint samples first, and invest in proper ventilation fans immediately.
We’d skip the decorative pillows and allocate that budget to better lighting.
Most importantly, don’t underestimate prep work—it’s worth dedicating an entire weekend to surface preparation alone.

Conclusion
Now, it’s proven that transforming a camper doesn’t require deep pockets—just creativity and determination.
Your $500 investment has blossomed into a space that rivals professional renovations, demonstrating that smart spending trumps big budgets.
Whether you’re planning your first makeover or dreaming of your tenth, remember this truth: the magic isn’t in the money you spend, but in the vision you bring to life.
Now grab your paintbrush and start creating your own affordable masterpiece.