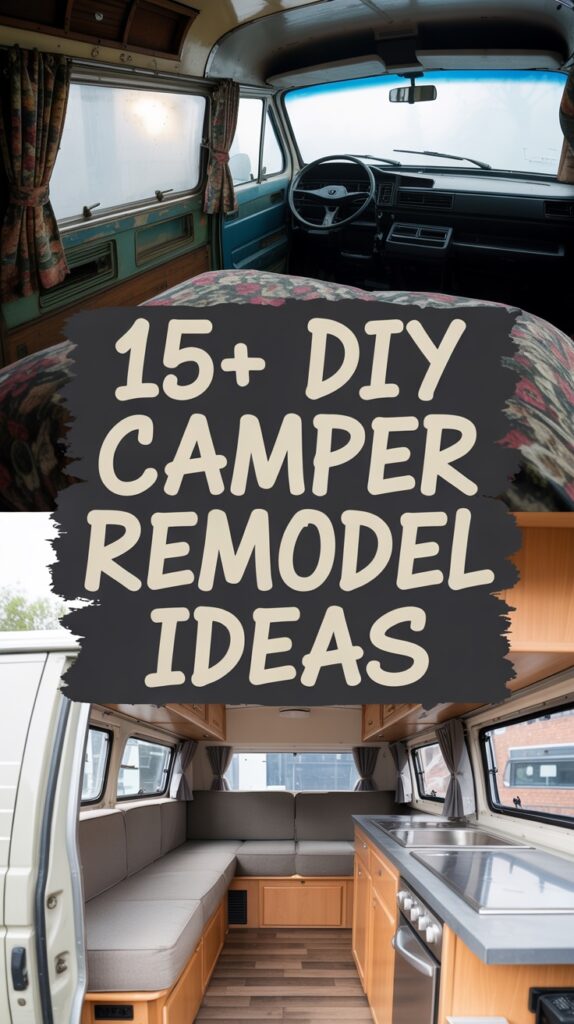
Transforming your camper on a budget is entirely doable without sacrificing style or quality.
By repainting cabinets and applying peel-and-stick wallpaper, you can instantly refresh your space. Incorporating smart storage solutions and thrifted fixtures can enhance both functionality and charm.
Budget-friendly flooring options like vinyl planks, paired with cozy textiles and rustic lighting, can create an inviting atmosphere.
Ready to make your camper feel luxurious without overspending? Let’s explore these cost-effective ideas.
BEFORE YOU BEGIN: BUDGETING FOR A DIY CAMPER REMODEL
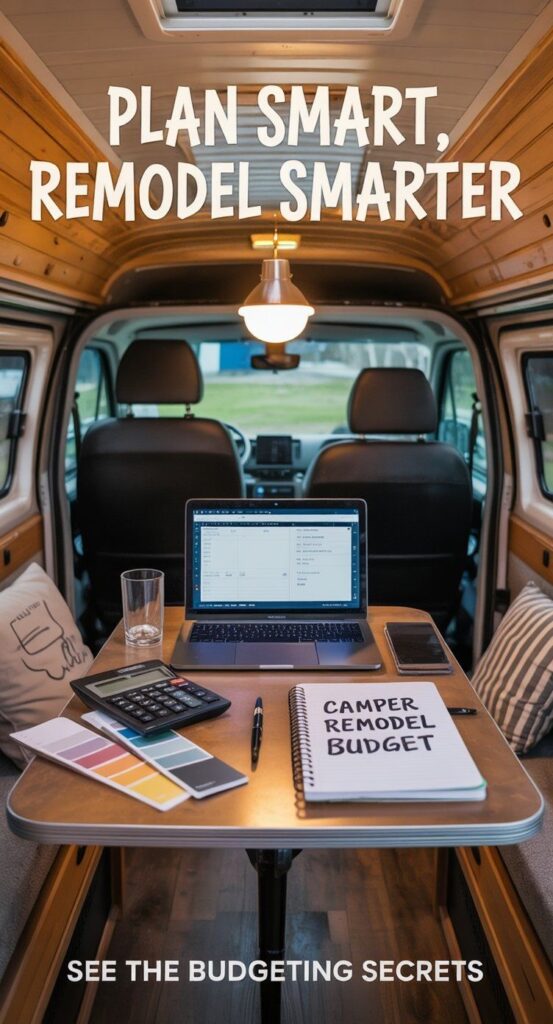
Before you start your DIY camper remodel, prioritize what’s most important to you—functionality or aesthetics.
It’s essential to build a realistic budget, factoring in all potential expenses, including those sneaky hidden costs like sealing, rot, and structural repairs.
With a clear budget and priorities set, you’ll be better equipped to manage your project without unexpected surprises.
RELATED: 23+ Bohemian Camper Ideas for Moms Who Love Color and Texture!
Set Your Remodel Priorities (Function vs Aesthetic)
How do you decide between function and aesthetics when remodeling your camper on a budget?
Begin by listing your must-have functional elements, like storage solutions or kitchen upgrades.
Then, identify aesthetic changes that enhance your space without breaking the bank, such as a fresh coat of paint or new curtains.
Prioritize features that improve daily living, ensuring your choices blend practicality with visual appeal.
How to Build a Realistic DIY Camper Remodel Budget
Initiating a DIY camper remodel requires a carefully crafted budget, ensuring you don’t overspend while transforming your space.
Start by evaluating your camper’s current condition and identifying key areas for improvement. Research materials and tools needed, and compare prices to get the best deals.
Allocate funds for each project aspect, leaving room for unexpected expenses. Track your expenses meticulously, adjusting your plan as needed.
RELATED: Rustic Farmhouse Camper Makeovers for a Peaceful Summer Escape!
Hidden Costs to Watch Out For (Seals, Rot, Structural Repairs)
As you strategize your camper remodel budget, it’s important to be aware of potential hidden costs that can disrupt your financial planning.
Seals can degrade over time, leading to water damage and rot, which can be expensive to repair.
Structural repairs, often uncovered during renovation, can also escalate costs quickly.
SMALL CAMPER REMODEL IDEAS THAT MAXIMIZE EVERY DOLLAR

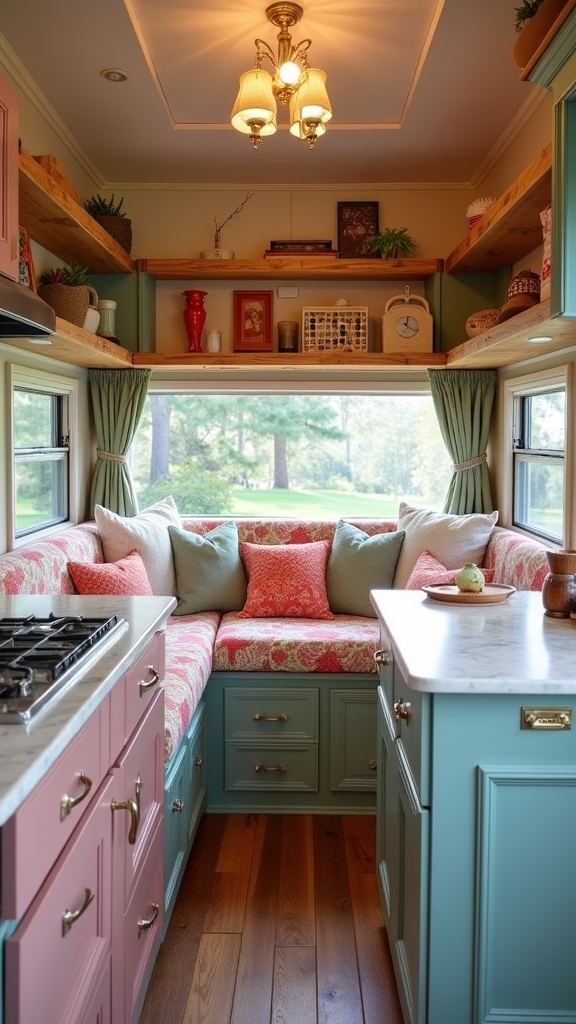
Use Light Colors to Visually Expand Small Spaces
In small campers, using light colors is a smart strategy to make spaces feel more open and airy.
Opt for whites, creams, and soft pastels on walls, cabinets, and fabrics. These shades reflect light, giving the illusion of a larger space.
RELATED: Ultimate Glamping Bucket List: 10 Unique Ways to Camp in Style!
Add Peel-and-Stick Wallpaper for a Fast, Cheap Wow Factor
Peel-and-stick wallpaper is a game-changer for budget-conscious camper remodelers seeking to add a quick and impressive touch.
It’s easy to apply, instantly transforming walls with minimal effort. You can choose from countless patterns and textures to match your style.
This affordable option not only elevates the aesthetics but also provides a personalized look, ensuring your camper feels uniquely yours without breaking the bank.
Upgrade Flooring with Budget Vinyl Planks or Peel-and-Stick Tile
After enhancing your camper’s walls with peel-and-stick wallpaper, it’s time to turn your attention to the floors for another impactful and budget-friendly upgrade.
Consider budget vinyl planks or peel-and-stick tiles for an affordable transformation. These options mimic the look of expensive materials while providing durability and easy installation.
RELATED: DIY Rustic Camper Remodel Projects for Crafty Moms!
DIY CAMPER REMODEL KITCHEN IDEAS ON A BUDGET
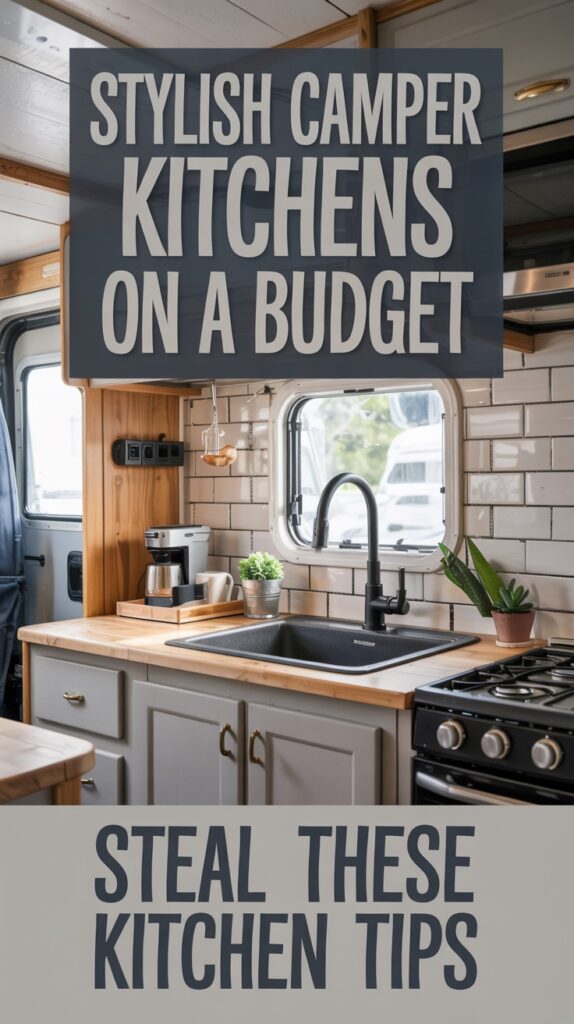

Repaint or Reface DIY Camper Remodel Kitchen Cabinets
Transforming your camper’s kitchen doesn’t have to break the bank, and revitalizing the cabinets is a great starting point.
Begin by repainting them with a fresh, vibrant color to instantly modernize the space. If painting isn’t your style, consider refacing the cabinets with adhesive veneer or laminate.
RELATED: 20 Cozy Van Life Hacks for Women Traveling Solo!
Add a Removable Backsplash (Peel-and-Stick or Magnetic Panels)
Once you’ve refreshed your camper’s kitchen cabinets, consider enhancing the space with a removable backsplash.
Peel-and-stick tiles or magnetic panels are perfect for adding style without breaking the bank. They’re easy to install and offer various designs, from sleek subway tiles to rustic wood patterns.
Plus, their removability means you can update your look as trends change, keeping your camper kitchen fresh and modern.
DIY CAMPER REMODEL BATHROOM TIPS FOR SMALL BUDGETS
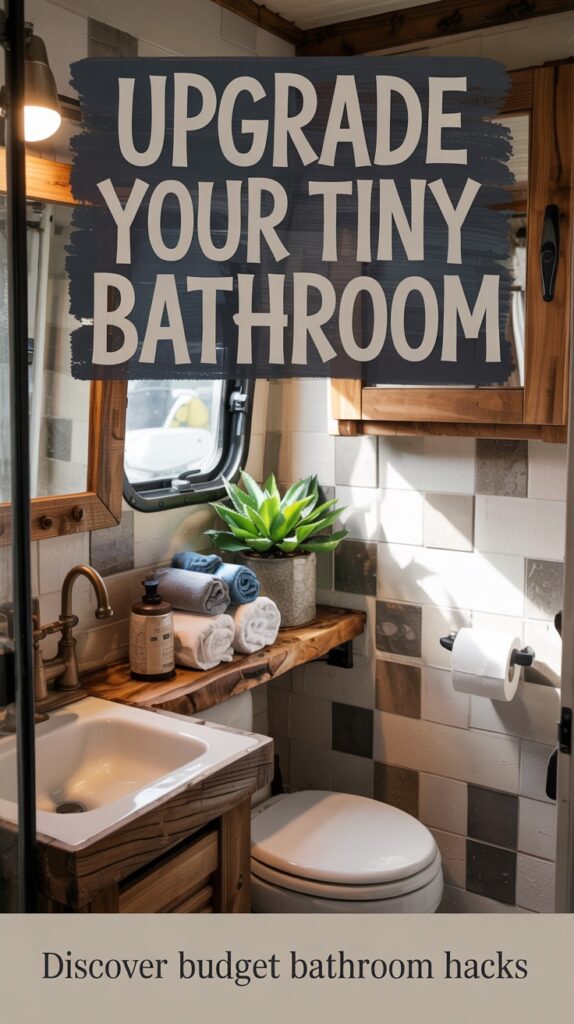
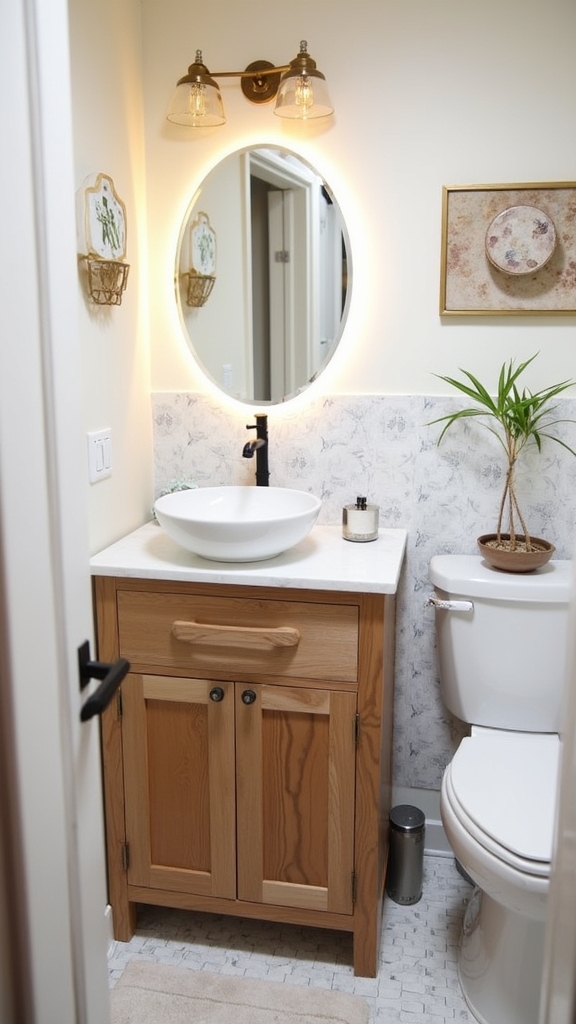
Replace Plastic Fixtures with Thrifted Finds
When revamping your camper bathroom on a tight budget, replacing plastic fixtures with thrifted finds is a smart way to add charm and character.
Scout local thrift stores for unique, vintage items like faucets or towel bars. These pieces often boast superior craftsmanship and can become conversation starters.
Add Storage Using Over-the-Toilet Shelves or Magnetic Racks
Maximizing storage in a camper bathroom is key to maintaining a tidy and functional space, and over-the-toilet shelves or magnetic racks offer practical solutions.
Install a compact shelf above the toilet for storing toiletries or extra towels.
Alternatively, magnetic racks can hold metal items like scissors and tweezers, keeping them within easy reach. Both options optimize vertical space and enhance organization without breaking the bank.
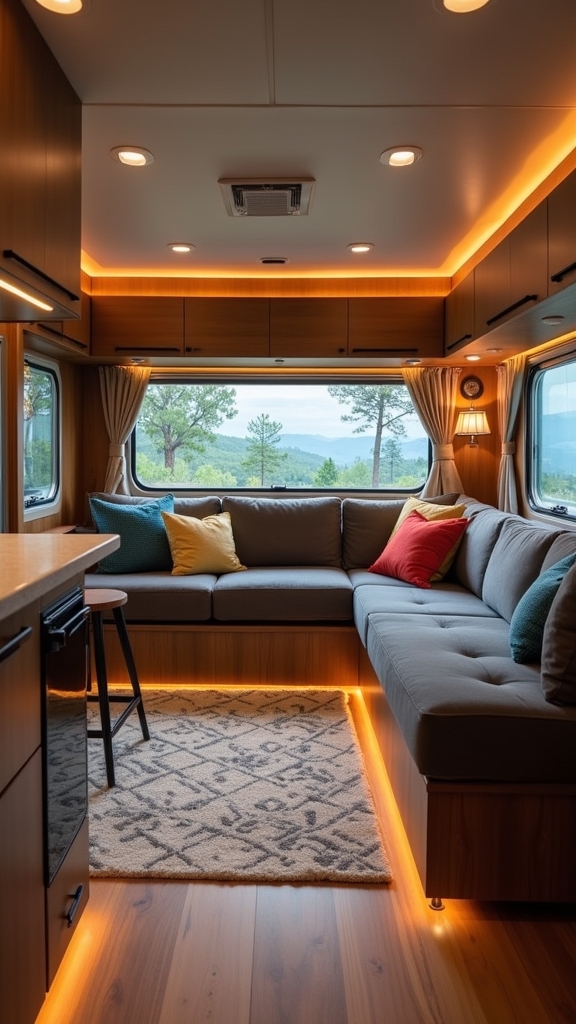
EASY DIY CAMPER REMODEL COUCH & LIVING ROOM UPGRADES

Reupholster the Existing Camper Couch
Reupholstering your existing camper couch is a straightforward way to breathe new life into your living space, even if you’re working with a tight budget.
Choose a durable fabric that complements your decor, then carefully remove the old upholstery.
Cut the new material to size, and secure it with a staple gun.
Build a DIY Sofa Base with Storage
While updating your camper’s couch fabric can refresh its appearance, building a DIY sofa base with storage offers functionality that enhances your living space even further.
You can construct a sturdy base using affordable materials like plywood, creating compartments for storing essentials. This upgrade maximizes space without sacrificing style.
Not only does it provide extra storage, but it also guarantees your camper remains organized and clutter-free.
Add Throw Pillows and a Rug to Cozy It Up
A few simple additions, like throw pillows and a cozy rug, can instantly elevate the comfort and style of your camper’s living area.
Opt for pillows with varied textures and patterns to add visual interest. A soft rug not only warms up the space but also defines the living area, making it feel more inviting.
DIY CAMPER REMODEL BEDROOM HACKS


Build a Platform Bed With Storage Drawers
If you’re looking to optimize space in your camper, building a platform bed with storage drawers is a smart solution.
This project not only maximizes sleeping comfort but also provides essential storage for your belongings.
By incorporating drawers beneath the bed, you create room for clothes, bedding, or outdoor gear.
Add Reading Sconces or String Lights
Consider enhancing the coziness and functionality of your camper bedroom by adding reading sconces or string lights.
These lighting options create a warm, inviting atmosphere perfect for relaxing with a book or setting a soothing mood.
Choose battery-operated sconces for easy installation or drape string lights overhead for a magical touch.
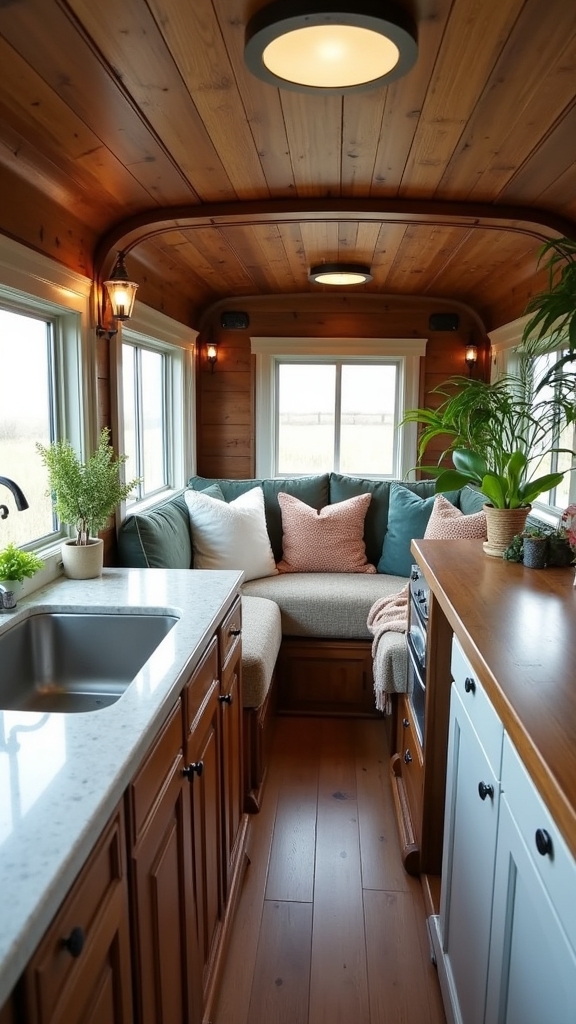
RUSTIC DIY CAMPER REMODEL IDEAS FOR A COZY VIBE
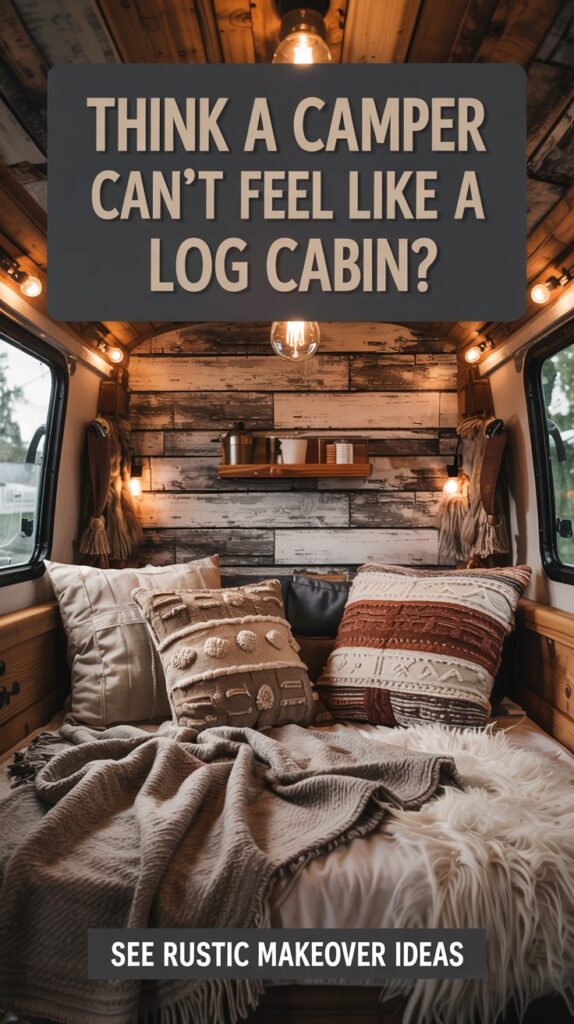

Use Reclaimed Wood or Faux Barn Wood Paneling
When you’re aiming to create a cozy, rustic vibe in your camper, using reclaimed wood or faux barn wood paneling is an effective way to achieve that warm, inviting atmosphere.
These materials offer a textured, natural look that instantly elevates your space. They’re often budget-friendly and add a unique, personalized touch.
With their timeless appeal, they transform your camper into a charming getaway you’ll love.
Add Edison Bulbs or Rustic Light Fixtures
Building on the rustic charm of reclaimed wood or faux barn wood paneling, enhancing your camper with Edison bulbs or rustic light fixtures can further amplify the cozy ambiance.
These lighting options provide a warm, inviting glow that transforms your space. Choose fixtures with aged metal or distressed finishes for an authentic look.
They’re budget-friendly and simple to install, instantly adding character and sophistication to your camper.
Decorate With Cozy Textiles, Throws, and Nature-Inspired Colors
Opt for soft throws and cushions in natural fabrics like wool or cotton. Choose nature-inspired colors such as earthy greens and browns to harmonize with the outdoors.
Layering textures will enhance the rustic feel, creating a welcoming space that feels luxurious without breaking the bank.
CHEAP DIY CAMPER REMODEL PROJECTS THAT MAKE A BIG IMPACT

Paint Cabinets and Replace Hardware
When you’re looking to make a significant impact on your camper’s interior without breaking the bank, painting the cabinets and replacing the hardware is an excellent place to start.
Choose a modern color that complements your space, and apply a fresh coat of paint to breathe new life into tired surfaces.
Swap out outdated knobs and handles for sleek, affordable options to instantly elevate the overall aesthetic.
Use Contact Paper for Faux Countertops
One of the simplest and most cost-effective ways to update your camper’s countertops is by using contact paper.
This versatile material mimics the look of high-end surfaces like marble or granite, instantly elevating your space. It’s easy to apply—just measure, cut, and smooth it onto the countertop.
Contact paper is also durable and resistant to spills, making it perfect for camper life.
Swap Curtains for DIY Linen Panels or Drop Cloth Hacks
Although revamping your camper’s interior might seem intimidating, swapping out old curtains for DIY linen panels or using drop cloth hacks can make a significant impact without breaking the bank.
Linen panels offer a chic and airy feel, instantly elevating the space. Drop cloths, easily transformed into curtains, provide a rustic charm.
Both options are budget-friendly, durable, and add a personalized touch to your camper.
DIY CAMPER REMODEL BUNK BEDS FOR FAMILIES
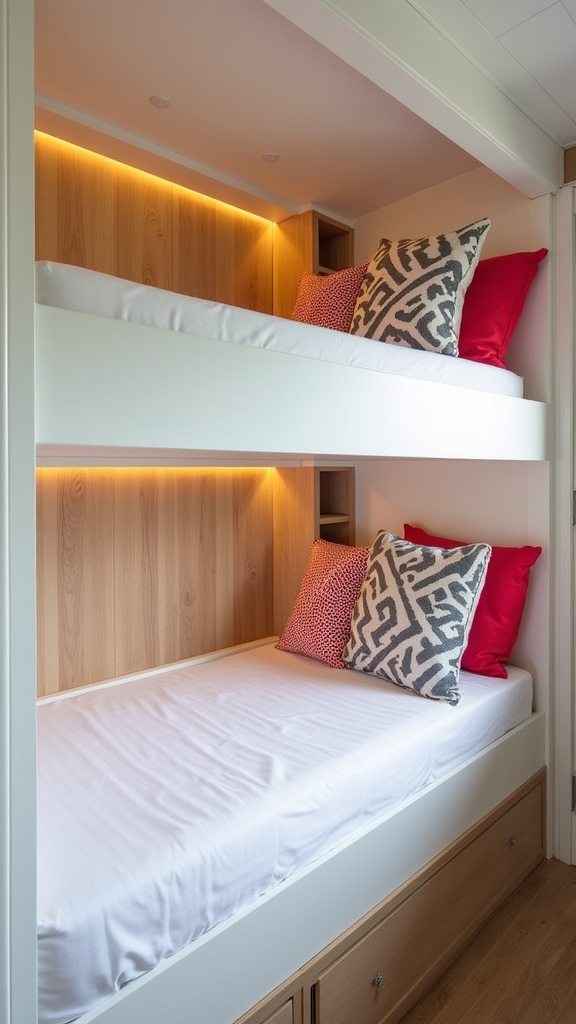
Transforming a dinette or closet into custom bunk beds is a practical way to maximize space for your family in a camper.
You’ll want to add safety rails and personal lighting to guarantee comfort and security for each child.
Finish the project with coordinated bedding to create an inviting and cohesive kids’ zone.
Convert Dinette or Closet Into Custom Bunk Beds
A well-executed camper remodel can make even the most compact space feel generous, and converting a dinette or closet into custom bunk beds is a smart way to maximize every inch.
Begin by evaluating the area’s dimensions to guarantee a proper fit for the bunks. Use sturdy materials like plywood for durability.
Tailor the design to suit your needs, integrating storage solutions beneath the bunks for added functionality.
Add Safety Rails and Personal Lighting
Once you’ve set up the custom bunk beds, enhancing their safety and comfort becomes paramount, especially for families.
Install sturdy safety rails to prevent accidental falls during the night.
Adding personal lighting, such as clip-on reading lamps, guarantees each bunk is well-lit for bedtime stories or nighttime reading.
This thoughtful lighting addition creates a cozy, secure environment, making the camper feel more like home for your family.
Use Coordinated Bedding for an Aesthetic Kids’ Zone
Creating a cohesive and inviting atmosphere in your camper’s kids’ zone is easier with coordinated bedding.
Choose colors and patterns that complement the interior, transforming the space into a stylish retreat.
Matching bedding sets provide a visually organized look, enhancing comfort and appeal.
It’s an affordable way to upgrade the kids’ bunk area, blending practicality with aesthetics, and making the camper feel like a home away from home.
DIY POP UP CAMPER REMODELS THAT DON’T BREAK THE BANK
Transforming your pop-up camper on a budget is easier than you think.
Start by replacing the canvas or adding DIY curtains with insulation to keep the interior cozy.
Enhance comfort with foam tiles on the floor, and maximize storage by using hanging shoe racks to organize your essentials efficiently.
Replace Canvas or Add DIY Curtains with Insulation
If you’re looking to refresh your pop-up camper without breaking the bank, replacing the canvas or adding DIY curtains with insulation can make a significant impact.
New canvas revitalizes the space, providing both aesthetic appeal and enhanced durability.
Alternatively, DIY curtains with added insulation not only improve privacy but also regulate temperature, making your camper more comfortable.
These options are cost-effective and easy to implement.
Add Foam Tiles for Flooring and Better Insulation
One of the easiest and most affordable ways to enhance your camper’s interior is by adding foam tiles for flooring.
These tiles provide a cushioned surface that increases comfort and helps insulate your camper against temperature changes. They’re simple to install, requiring minimal tools, and can be customized to fit any space.
Plus, foam tiles are available in various colors and patterns, allowing for a stylish, personalized touch.
Use Hanging Shoe Racks for Smart Pop-Up Storage
Maximize your camper’s storage space by utilizing hanging shoe racks, an inexpensive and clever solution for keeping your pop-up camper organized.
Hang them on walls or doors to create additional compartments for toiletries, kitchen utensils, or small camping gear.
This method not only keeps your essentials within reach but also frees up valuable floor space, making your camper feel more spacious and less cluttered.
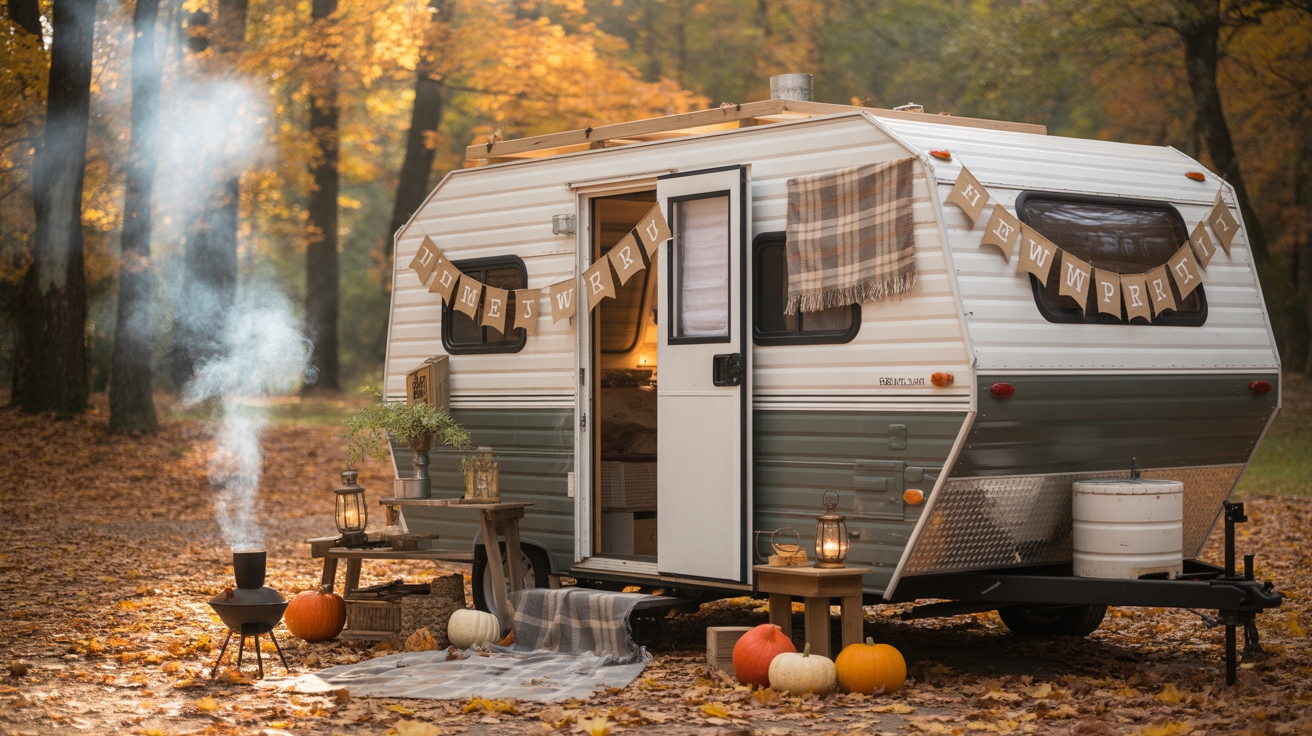
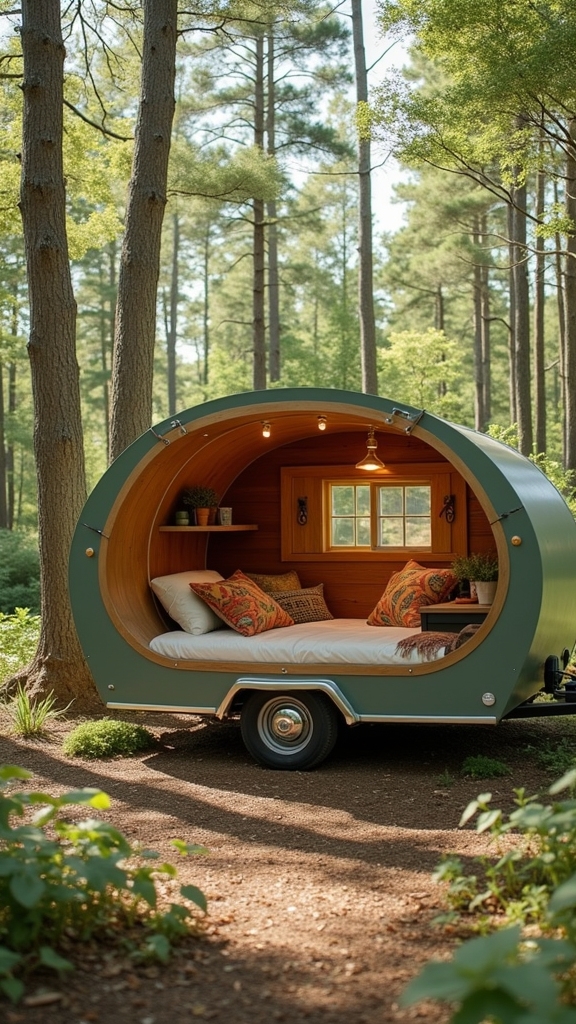
OLD CAMPER REMODELS: GIVING VINTAGE TRAILERS A FRESH START
When tackling an old camper remodel, focus on restoring original cabinetry instead of replacing it to maintain the trailer’s vintage charm.
By mixing retro and modern elements, you can create a stunning, Pinterest-worthy look that effectively bridges the past and present.
Highlighting original details like windows, latches, or logos not only preserves the trailer’s authenticity but also adds character to your refreshed space.
Restore Instead of Replace Original Cabinetry
While it might be tempting to replace the original cabinetry in your vintage camper, restoring it can be a more cost-effective and rewarding approach.
By refinishing or repainting the existing wood, you preserve the charm and character unique to vintage trailers. Sanding, staining, or applying a fresh coat of paint can transform outdated cabinets into stylish focal points.
This method saves money while maintaining the camper’s original aesthetic appeal.
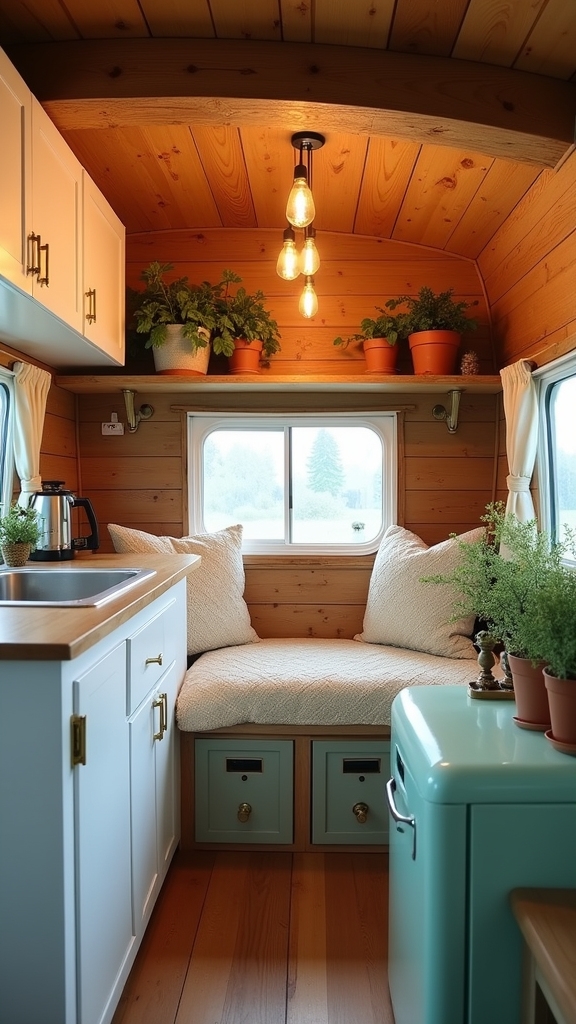
Mix Retro + Modern Elements for a Pinterest-Worthy Look
Blending retro and modern elements can breathe new life into your vintage camper, creating a space that’s both nostalgic and stylish.
Start by pairing sleek, contemporary fixtures with classic, retro patterns. Consider a bold, geometric backsplash alongside vintage-inspired upholstery.
Use modern lighting to illuminate old-school charm. This fusion not only respects the camper’s history but also introduces an updated, sophisticated flair that’s Instagram-ready.
Highlight Original Details Like Windows, Latches, or Logos
To give your vintage camper a fresh start, focus on highlighting its original details like windows, latches, and logos.
These features add character and charm, providing a nod to the past while enhancing the overall aesthetic. Clean and polish the windows, ensuring they shine.
Restore latches to their former glory, maintaining functionality. Showcase logos by removing dirt or repainting, preserving your camper’s unique history.
FINAL TIPS TO KEEP YOUR DIY CAMPER MAKEOVER BUDGET IN CHECK
To keep your camper makeover budget on track, start by reusing materials and items you already have before making new purchases.
Look for bargains at places like online marketplaces, Habitat ReStores, and clearance sections, where you can find quality materials at a fraction of the cost.
Focus on making one significant upgrade per zone to maximize impact without overspending.
Reuse What You Can Before Buying
When starting on a DIY camper makeover, reusing what you already have is an essential step to keep costs down.
Look around your home for furniture, fabrics, and fixtures that can be repurposed. A fresh coat of paint can transform old cabinets, while leftover tiles can create a unique backsplash.
Shop Marketplace, Habitat ReStores, and Clearance Sections
Although sticking to a budget might seem challenging, shopping smartly can make a significant difference in your camper remodel costs.
Explore online marketplaces, where you can find gently used items at a fraction of retail prices. Visit Habitat ReStores for discounted building materials and furniture.
Don’t overlook clearance sections in stores; they often hold hidden gems that will elevate your camper without breaking the bank.
Plan for One Statement Upgrade Per Zone
As you explore affordable ways to enhance your camper, focus on making one statement upgrade per zone to optimize both aesthetics and functionality without overspending.
Choose impactful changes like a bold backsplash in the kitchen, a stylish light fixture in the living area, or upgraded bedding in the sleeping space.
Prioritize quality over quantity, ensuring each upgrade enhances the camper’s overall appeal while respecting your budget constraints.