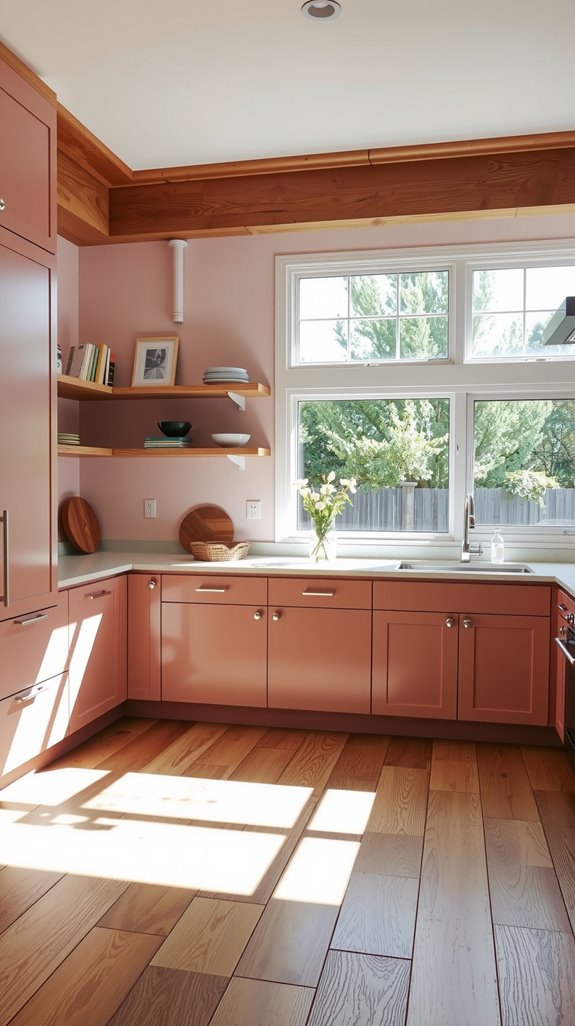
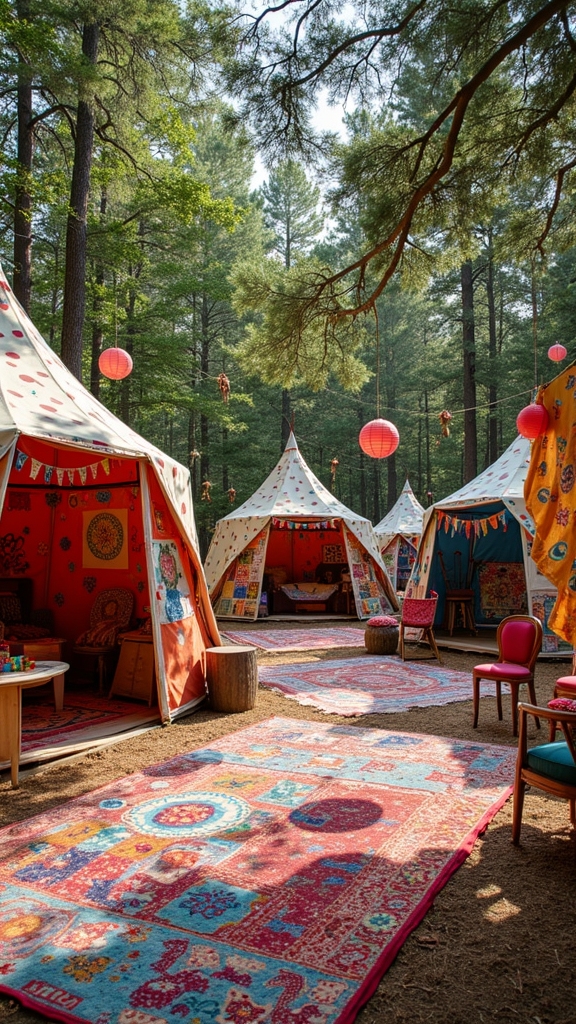
You will find that booking an igloo at Bryant Park Winter Village offers far more than a simple dining experience.
These transparent domes provide an intimate escape from Manhattan’s bustling streets while maintaining the magic of the winter season.
From heated interiors with panoramic city views to curated seasonal menus, each detail creates a memorable atmosphere.
However, there are specific features and insider tips that can transform your visit from enjoyable to extraordinary.

Contents
- 1 Key Takeaways
- 2 Prime Location Between the Skating Pavilion and The Lodge
- 3 Stunning Views of Midtown Skyscrapers Through Clear Walls
- 4 Protected Shelter While Still Enjoying the Winter Atmosphere
- 5 Easy Access From Major Subway Lines and Transit
- 6 Extended Season From Mid-November Through Early March
- 7 Generous 90-Minute Sessions for Maximum Enjoyment
- 8 Intimate Setting for Up to 8 Guests Per Igloo
- 9 Two Package Options Tailored for Different Group Sizes
- 10 Advance Reservation System With Prepaid Packages
- 11 Heated Interior That Keeps You Warm on Cold Days
- 12 Comfortable Seating With Chairs, Benches, and Tables
- 13 Decorative Fireplace Features for Added Ambiance
- 14 Hot Chocolate and Seasonal Warm Beverages Included
- 15 Shareable Comfort Foods Like Pretzels and Artisanal Sausages
- 16 Additional A La Carte Options Available During Your Session
- 17 Special Seasonal Offerings Like Afternoon Tea Experiences
- 18 Natural Light Streaming Through the Transparent Dome
- 19 Professional Cleaning and Preparation Between Each Session
- 20 Weather Protection With Safety-First Cancellation Policies
Key Takeaways
- Heated interiors with comfortable cushioned seating, sturdy tables, and decorative LED fireplace create cozy warmth while maintaining outdoor ambiance.
- Clear dome walls provide 360-degree panoramic views of Midtown Manhattan and Bryant Park’s winter activities with natural light transmission.
- 90-minute sessions include shared comfort foods like artisanal sausages, charcuterie plates, hot chocolate, and warm apple cider.
- Durable, insulated walls protect against wind, snow, and rain while professional cleaning ensures high hygiene standards between sessions.
- Prime location between The Skating Pavilion and The Lodge offers easy access to dining, skate rentals, and nearby subway stations.
Prime Location Between the Skating Pavilion and The Lodge
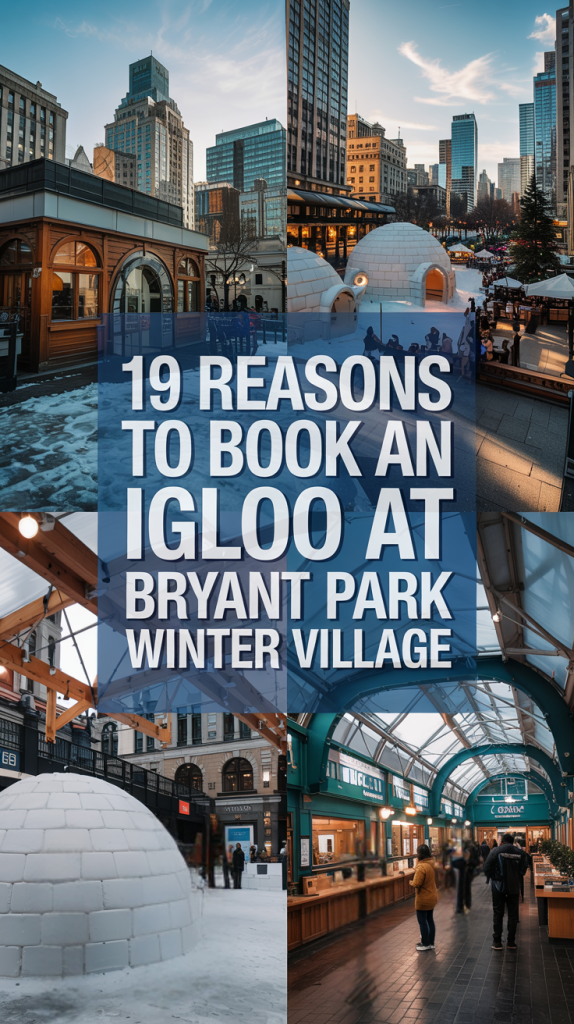
The igloos at Bryant Park Winter Village occupy a strategically advantageous position that places you within steps of both essential amenities and premier attractions.
You’ll be perfectly positioned between The Skating Pavilion, offering convenient skate rentals and storage services, and The Lodge’s cozy dining atmosphere.
This central placement guarantees seamless changes between skating activities and warm refreshments. The village employs security services to ensure safe browsing experiences and protect against various online threats for visitors accessing their booking system.
RELATED: 17 Reasons Merchant’s House Museum Holiday Tours Feel Like Stepping Into the 1800s!
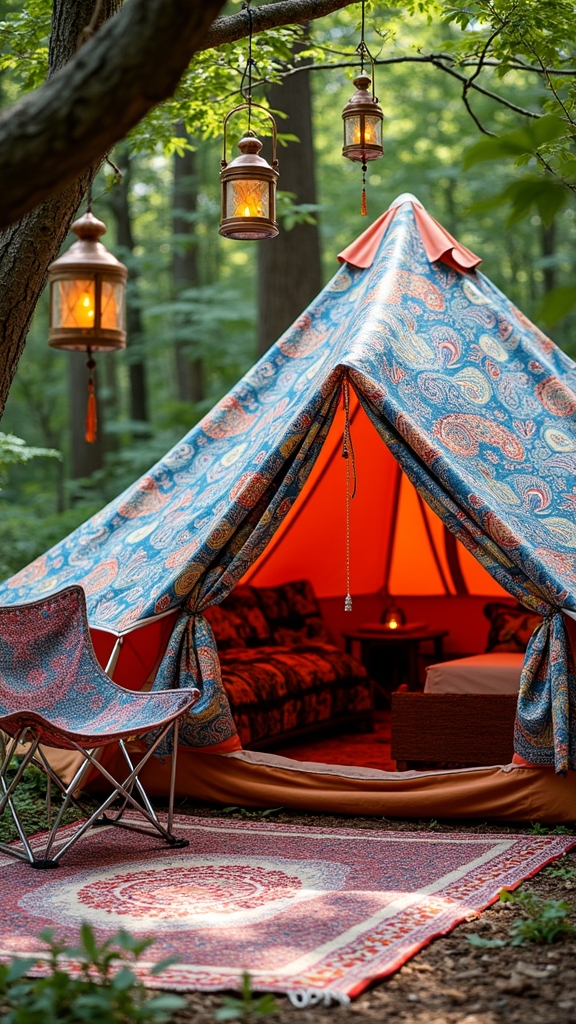
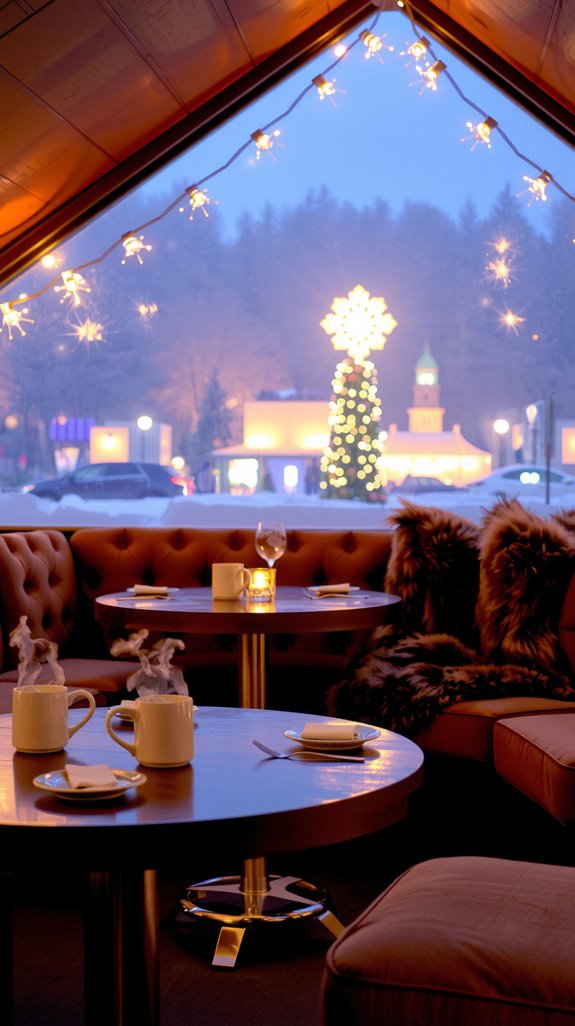
Stunning Views of Midtown Skyscrapers Through Clear Walls


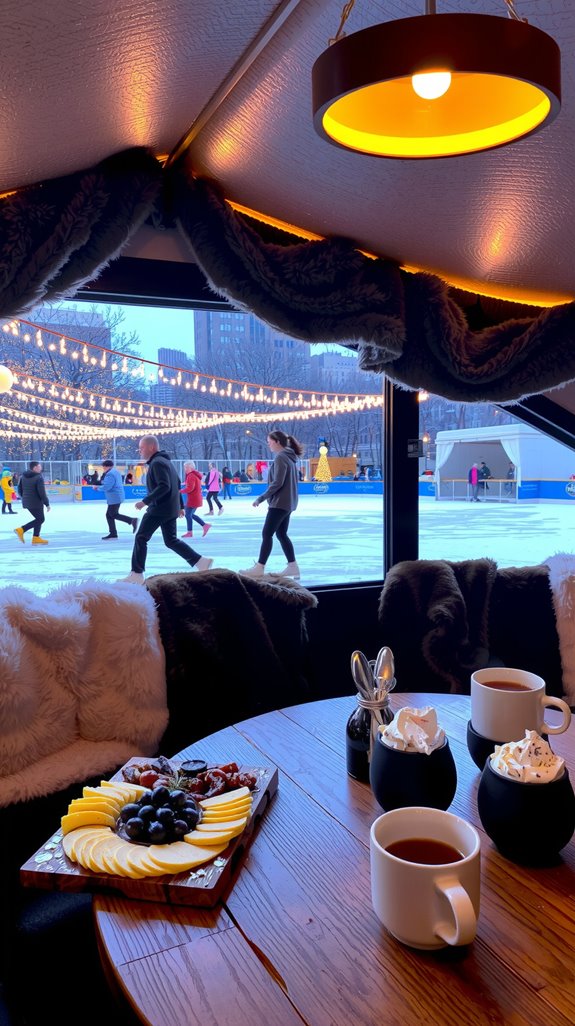
Clear dome walls transform each igloo into a stunning observation deck, offering you unobstructed panoramic views of Midtown Manhattan’s towering skyline.
You’ll enjoy close-up vistas of iconic buildings that frame Bryant Park, creating a photogenic backdrop for your experience.
Evening illumination transforms the cityscape into twinkling lights while heated interiors guarantee comfort without compromising your visual connection. Each igloo provides an intimate setting for up to 8 guests during your reserved time slot.
RELATED: 17 Dreamy Snowy Mountain Hot Springs for the Ultimate Winter Escape!
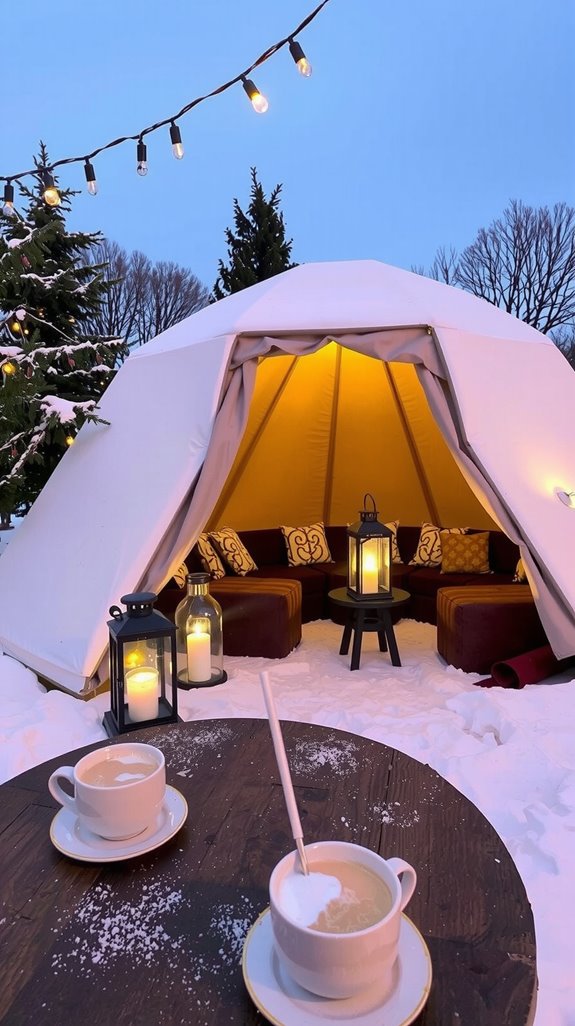
Protected Shelter While Still Enjoying the Winter Atmosphere

While winter weather can be unpredictable and harsh, Bryant Park’s igloos provide the perfect balance of protection and seasonal immersion.
Clear, durable walls shield you from wind, snow, and rain while maintaining visual connection to the festive surroundings.
You’ll stay warm inside heated interiors yet remain part of the winter village atmosphere experiencing cozy comfort without sacrificing the magical outdoor ambiance. Each cozy session provides 90 minutes of uninterrupted enjoyment with your group.
RELATED: Nature Bathing Travel Ideas: Forests, Lakes, and Mountain Escapes!
Easy Access From Major Subway Lines and Transit

Getting to Bryant Park Winter Village couldn’t be more convenient, as the location sits at the heart of Manhattan’s most connected transit corridor.
There are direct subway access through Times Square, 42nd Street and 42nd Street, Bryant Park stations, serving multiple lines.
Grand Central Terminal is just a five-minute walk away, while Port Authority provides additional bus connections nearby. Once you arrive, the Winter Village operates with daily hours from 10:30 AM to 9 PM through March 2, 2025.
RELATED: 10 Magical Winter Destinations That Feel Straight Out of a Snow Globe.
Extended Season From Mid-November Through Early March

When Bryant Park Winter Village opens its cozy igloos in mid-November, you’re looking at nearly four months of heated dome dining that extends well beyond the typical holiday season.
Your 90-minute sessions run daily from 10:30 a.m. to 9 p.m. through early March, covering Thanksgiving, Christmas, New Year’s, and Valentine’s Day for extensive winter entertainment.
Each igloo features clear walls that provide picturesque winter views while keeping you warm and comfortable.
RELATED: Winter Adventures: 16 Iconic Bridges Across Snowy Mountain Ravines!
Generous 90-Minute Sessions for Maximum Enjoyment

The 90-minute duration of each igloo session provides substantial time to savor both the culinary offerings and the unique winter atmosphere without feeling rushed.
You’ll have ample opportunity to enjoy seasonal food and beverages, engage in meaningful conversations with up to seven companions, and fully appreciate the heated dome’s cozy ambiance while taking in Manhattans stunning skyline backdrop.
Intimate Setting for Up to 8 Guests Per Igloo
Each Cozy Igloo creates an intimate environment designed specifically for groups of up to eight guests, ensuring everyone can comfortably enjoy the experience without overcrowding.
The heated dome-shaped structures feature transparent walls and thoughtful seating arrangements that facilitate easy interaction and socializing.
Children under two don’t count toward food package limits, but do count in overall capacity.
Two Package Options Tailored for Different Group Sizes
Two distinct package options allow you to select the perfect fit based on your group’s size and dining preferences.
Small packages accommodate 1-4 guests starting at $253.96, including one shared beverage and food item.
Large packages serve 5-8 guests with two shared beverages and food selections. Both options provide 90-minute sessions, with additional à la carte ordering available.
Advance Reservation System With Prepaid Packages
Since walk-ins aren’t accepted, you’ll need to secure your igloo experience through Bryant Park’s advance reservation system that requires purchasing a prepaid package for your desired date and time.
These packages include food and beverage selections, with no option for reservations without purchasing.
Same-day bookings aren’t available, making advance planning essential for your visit.
Heated Interior That Keeps You Warm on Cold Days
When temperatures plummet at Bryant Park Winter Village, you’ll find genuine relief inside the heated igloo domes that maintain comfortable warmth throughout your 90-minute dining experience.
The clear structures trap heat effectively while insulated walls prevent drafts and heat loss.
However, you should still dress warmly when temperatures drop below freezing as heating provides comfort rather than complete protection.
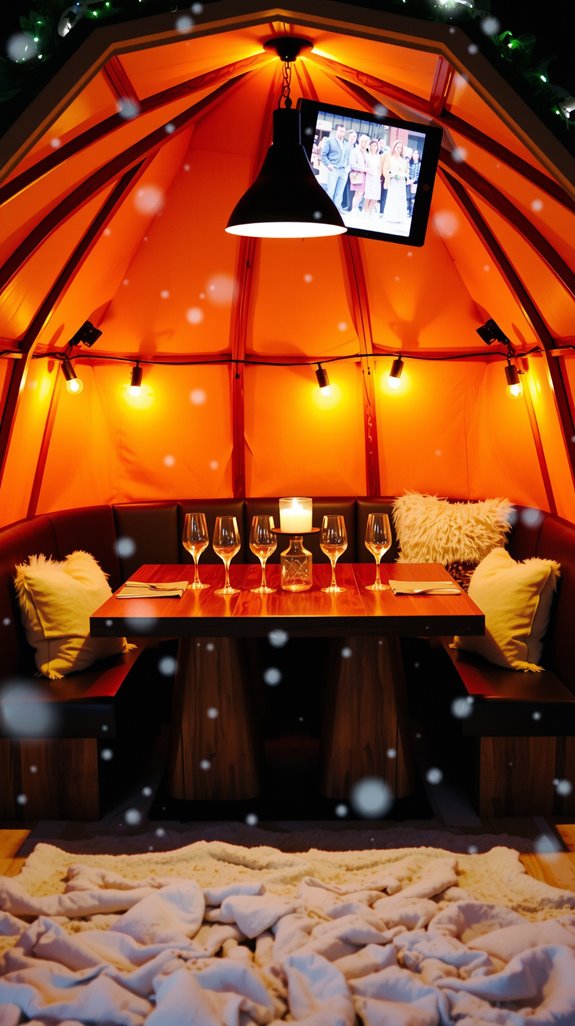
Comfortable Seating With Chairs, Benches, and Tables

Beyond the warmth that protects you from winter’s chill, each igloo provides thoughtfully arranged seating that transforms your dining experience into something truly memorable.
You can enjoy the cushioned chairs and benches strategically positioned around sturdy tables, creating an intimate atmosphere for up to eight guests.
The layout maximizes panoramic views of the skating rink while ensuring comfortable access to your seasonal food and beverages.
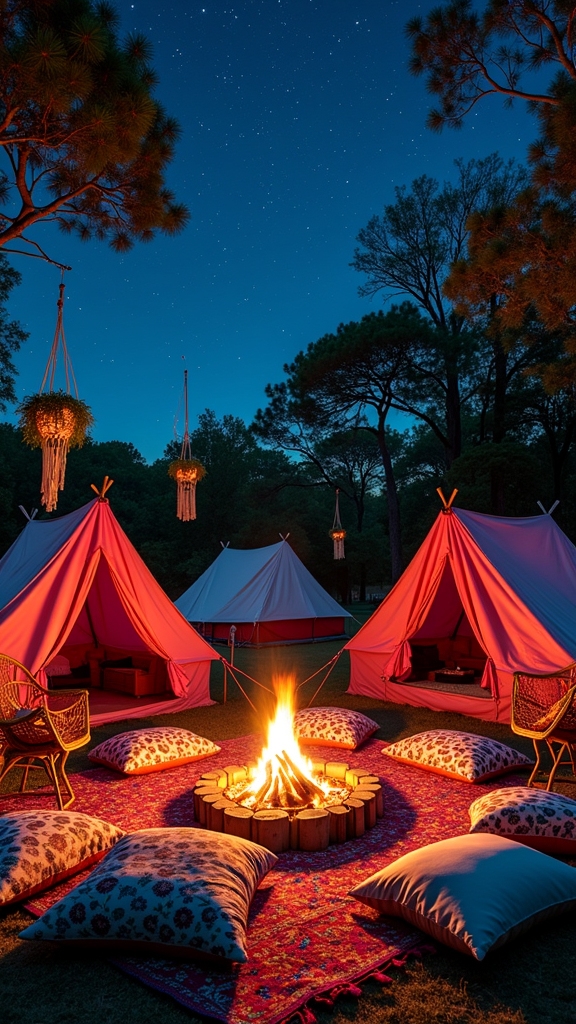
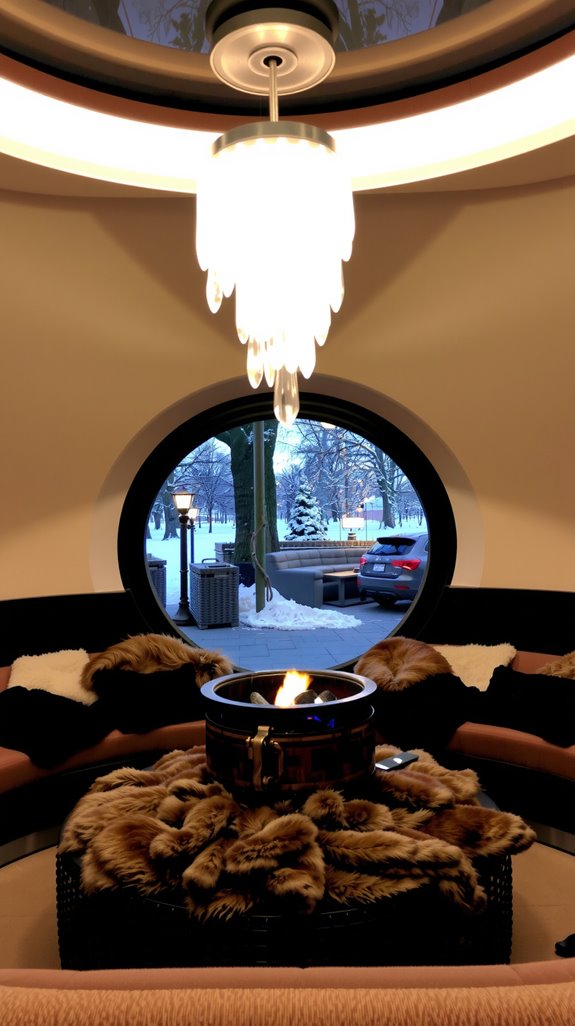
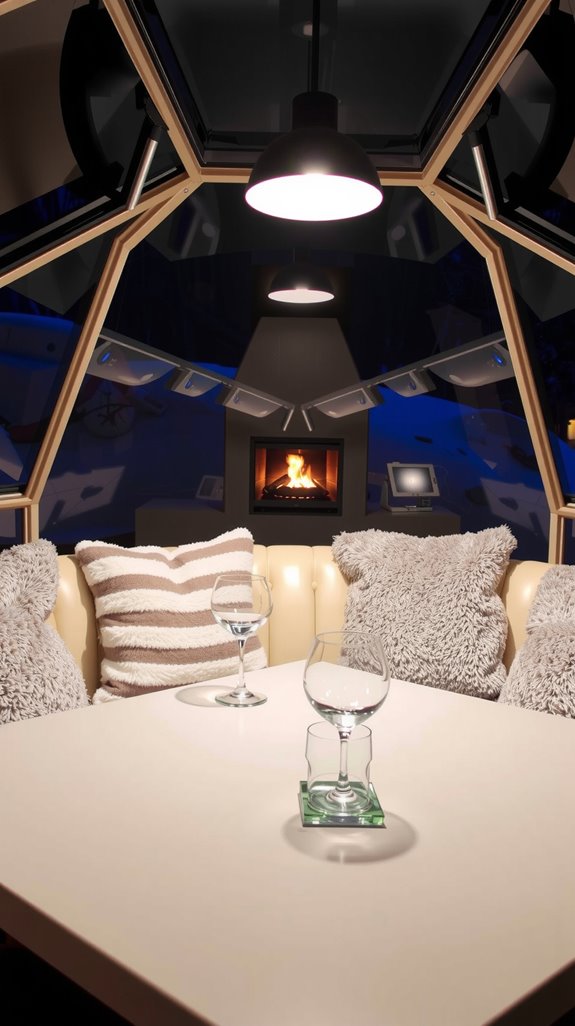
Decorative Fireplace Features for Added Ambiance

While the comfortable seating sets the stage for relaxation, the decorative fireplace serves as the crown jewel of your igloo’s ambiance.
You’ll enjoy realistic LED flames that flicker safely without fire hazards, creating a warm glow against the winter backdrop.
The compact, modern design features festive touches like garlands, transforming your transparent dome into an intimate retreat.
Hot Chocolate and Seasonal Warm Beverages Included

The signature hot chocolate from Cocoa Cabin transforms your igloo experience into a luxurious winter retreat.
You’ll enjoy rich, velvety hot chocolate served as a shareable carafe, complete with marshmallows or s’mores sticks. Hot apple cider offers an alternative warm beverage choice.
These drinks complement your heated igloos cozy atmosphere, providing perfect comfort between ice skating sessions.

Pairing those warming beverages with Bryant Park’s extensive selection of shareable comfort foods creates the perfect igloo dining experience.
You’ll find over 60 food vendors offering artisanal sausages served with distinctive mustards, large soft pretzels with cheese dips, and steamed bao buns.
These handheld options encourage sampling multiple varieties, while staying cozy inside your heated igloo.
Additional A La Carte Options Available During Your Session
Beyond the standard package offerings, Bryant Park’s igloo experience allows you to customize your session with an extensive menu of à la carte additions.
You can order charcuterie plates featuring cured meats and cheeses, hummus dip plates for vegetarian options, or sweet dessert plates.
Moreover you’ll have access to warm food items from 60+ nearby Winter Village vendors.
Special Seasonal Offerings Like Afternoon Tea Experiences
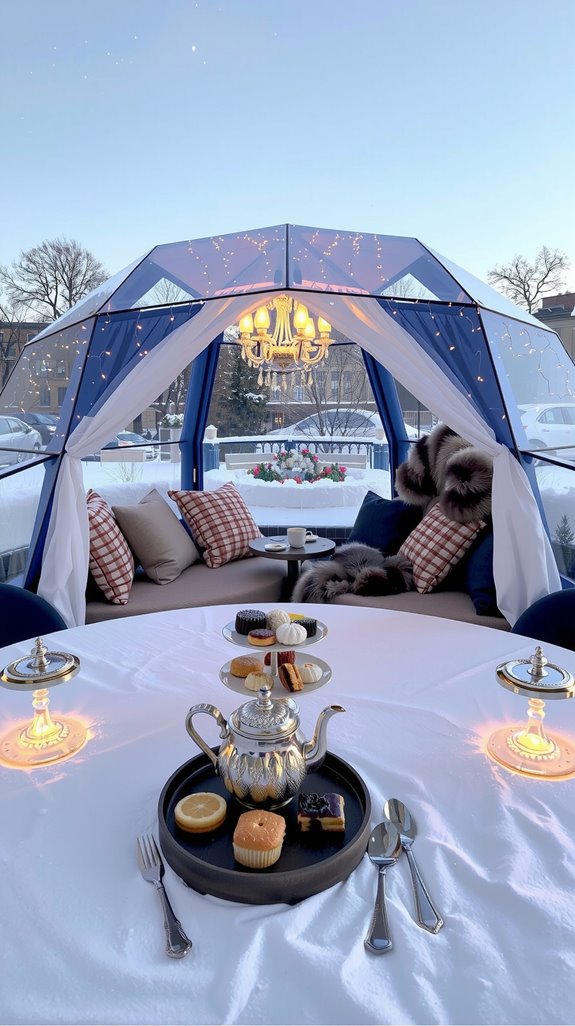
Each February, Bryant Park Winter Village introduces its exclusive Rosy Igloos, transforming the standard igloo experience into an elegant afternoon tea venue.
You’ll enjoy premium tea blends, classic sandwiches, and chocolate-covered strawberries in heated igloos featuring floral accents and warm lighting.
These 90-minute sessions accommodate up to eight guests, starting at $253.96 with required reservations.
Natural Light Streaming Through the Transparent Dome
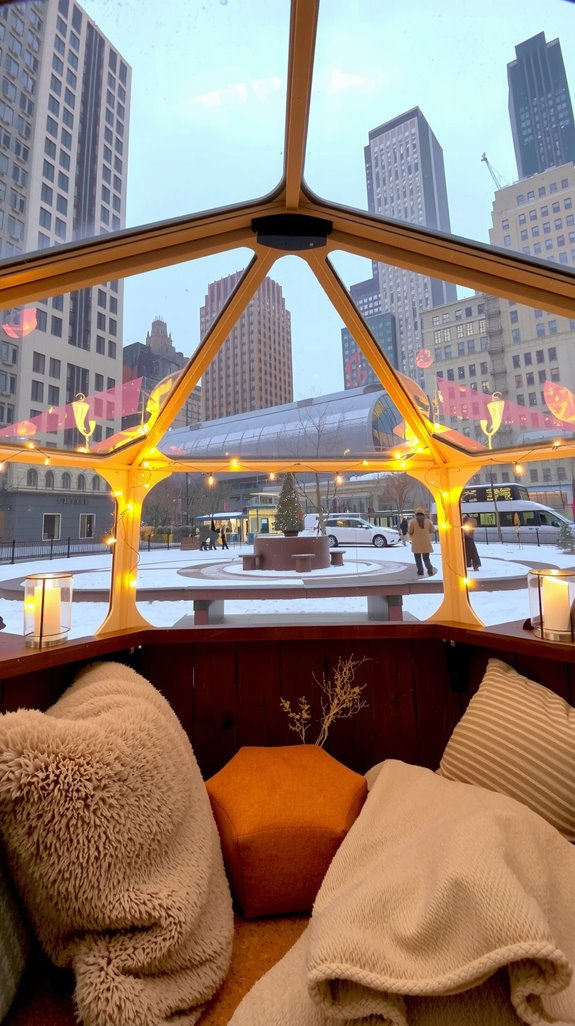
While special seasonal experiences elevate your igloo visit, the transparent dome design itself creates an extraordinary atmosphere through natural light transmission.
You’ll enjoy 360-degree views of Bryant Park’s winter activities while sunlight streams through clear materials, creating a bright, inviting environment.
The natural lighting enhances holiday decorations inside while providing unobstructed views of skating rinks, and surrounding skyscrapers.
Professional Cleaning and Preparation Between Each Session
Between each igloo reservation, dedicated cleaning crews guarantee your private dining space meets the highest hygiene standards through thorough sanitation protocols.
Staff use EPA-approved disinfectants on all surfaces, focusing on high-touch areas like tables and seating.
Your 90-minute session allows sufficient time for complete cleaning, table resetting with fresh linens and quality checks before your arrival.
Weather Protection With Safety-First Cancellation Policies
Beyond maintaining spotless conditions, Bryant Park’s igloo experience prioritizes your comfort and safety through thorough weather protection measures.
Each heated, insulated dome shields you from wind and precipitation while maintaining clear views.
Management reserves the right to cancel reservations during severe weather, communicating decisions via their website and social media channels for your safety.