Most first-time camper renovators don’t realize that structural issues hide behind 70% of cosmetic problems in older RVs.
You’ll transform that dated, musty camper into a personalized retreat, but the path from demolition to dream space requires strategic planning and methodical execution.
Whether you’re dealing with water-damaged walls or outdated electrical systems, the right approach turns overwhelming challenges into manageable tasks that even beginners can master.
Assess Your Camper’s Current Condition and Create a Vision Board

Before you can transform your tiny camper into a dream retreat, you’ll need to take stock of what you’re working with and where you want to go.
Document every issue—from water damage to broken appliances. Take photos, measure spaces, and note structural problems.
Then, create a vision board with layout ideas, color schemes, and must-have features that’ll guide your renovation decisions.
RELATED: 21 Genius Camping Setup Ideas for a Cozy and Organized Campsite!
Set a Realistic Budget and Timeline for Your Remodel

Now that you’ve documented your camper’s condition and created your vision board, you’ll need to establish financial and scheduling parameters that’ll keep your project on track.
Calculate costs for materials, tools, and potential professional help. Add 20% for unexpected expenses.
Create a realistic timeline considering your skill level and available hours. Breaking large tasks into smaller milestones will prevent overwhelming yourself and guarantee steady progress.
RELATED: 18 Glamping-Style Camping Setup Ideas for a Luxe Outdoor Experience!
Gather Essential Tools and Materials for Beginners

Whether you’re a complete novice or have dabbled in DIY projects before, you’ll need the right tools and materials to transform your tiny camper successfully.
Start with basic hand tools: screwdrivers, hammer, tape measure, and level. Add a cordless drill, circular saw, and safety gear.
For materials, stock up on screws, adhesive, sandpaper, and primer. These essentials will handle most beginner-friendly camper modifications.
RELATED: Our $500 Small Camper Makeover That Looks Like a Designer Did It!
Check and Repair Structural Issues, Leaks, and Electrical Systems
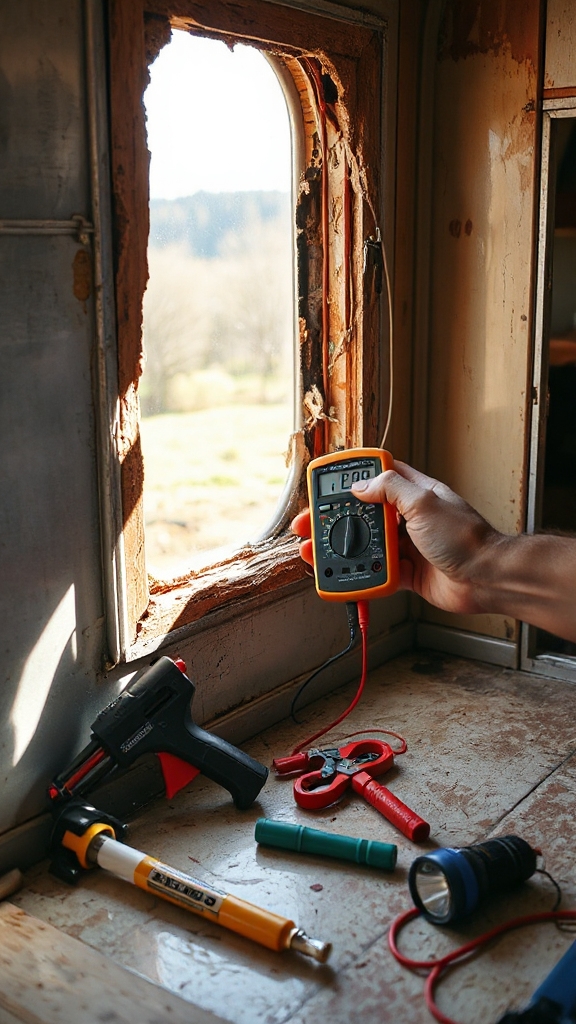
Once you’ve exposed your camper’s bare bones, you’ll need to inspect every inch for damage that could compromise your renovation.
Check floors for rot, walls for water stains, and roof seams for cracks.
Test all electrical connections with a multimeter, looking for shorts or faulty wiring.
Document problems with photos and prioritize repairs based on safety first, then functionality.
RELATED: 24 Small Camper Renovation Ideas That Add Serious Function & Value!
Plan Your Layout and Maximize Every Square Inch
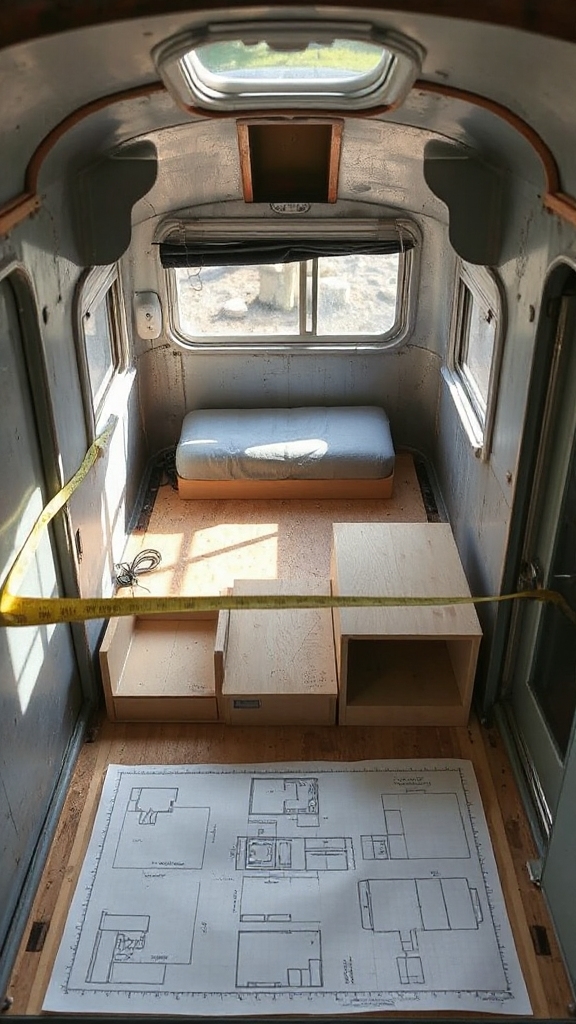
With your structural repairs complete, you’re ready to tackle the most exciting phase: designing a floor plan that transforms your tiny space into a functional home.
Measure every dimension carefully, then sketch multiple layouts before committing. Consider multi-purpose furniture, vertical storage solutions, and convertible sleeping areas.
You’ll maximize functionality by thinking creatively about dead spaces under benches, inside walls, and overhead compartments.
RELATED: 20+ Caravan Makeover Ideas for Creating a Peaceful Retreat!
Install Proper Insulation for Year-Round Comfort
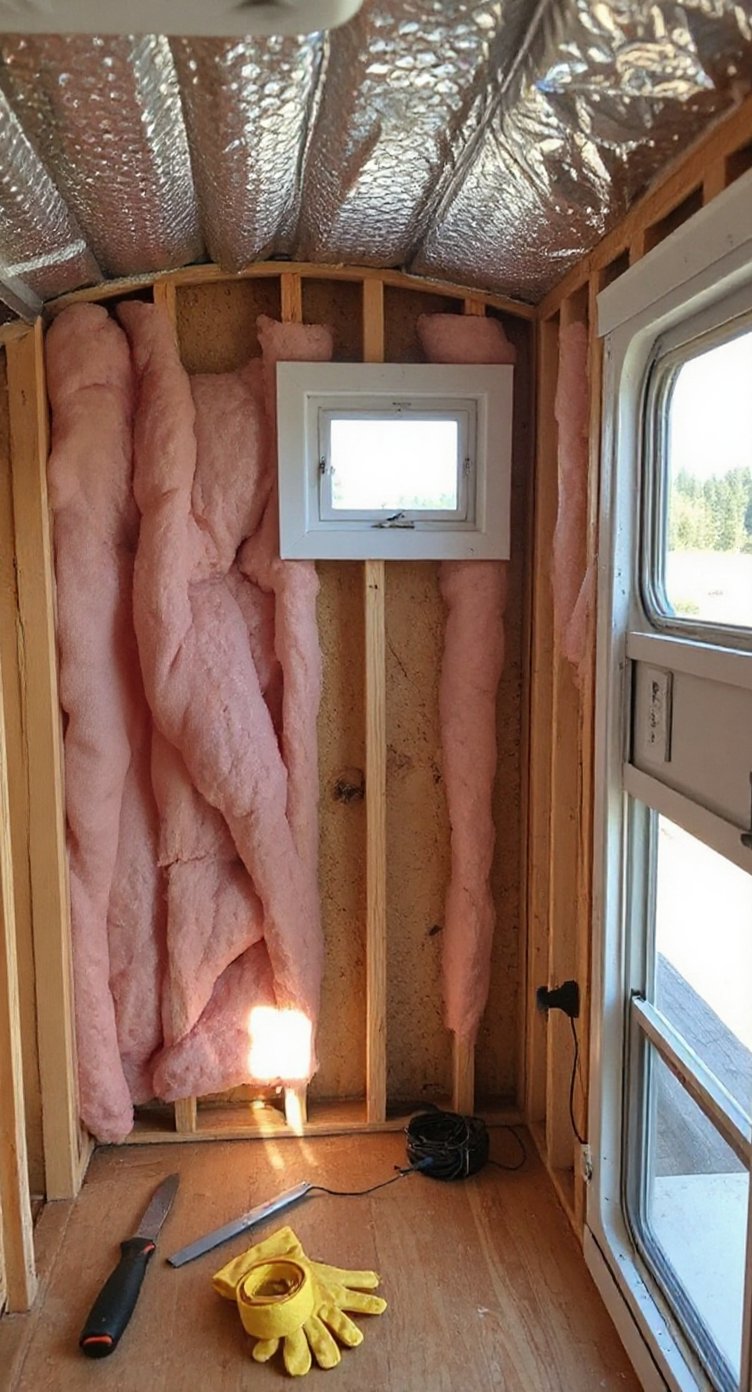
Before you start hanging cabinets or installing that dream dinette, you’ll need to address one of the most critical aspects of camper comfort: proper insulation.
Quality insulation controls temperature, reduces condensation, and blocks road noise.
You’ll choose between fiberglass, foam board, or spray foam options. Each material offers different R-values and installation methods, but all require careful sealing to prevent moisture infiltration and maximize efficiency.
Update Electrical Wiring and Add Modern Outlets
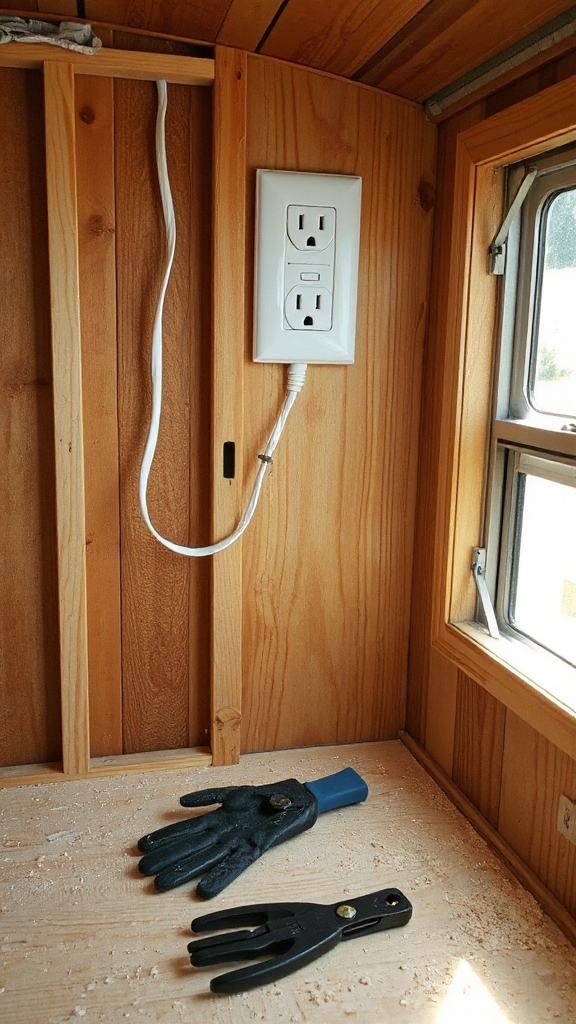
After your insulation is secure, you’ll need to tackle the electrical system to power your modern camping lifestyle.
Start by mapping existing circuits and checking wire conditions. Replace damaged wiring with marine-grade components that resist moisture.
Install GFCI outlets near water sources and add USB ports for device charging.
Always disconnect the battery before working, and consider hiring an electrician for complex installations.
Upgrade Plumbing Systems and Water Storage
Once you’ve modernized your electrical system, you’ll want to upgrade your camper’s plumbing to guarantee reliable water access during your adventures.
Replace old pipes with flexible PEX tubing, which resists freezing and installs easily.
Install a new water pump and upgrade to a larger freshwater tank.
Add a water filter system and consider installing an on-demand water heater for comfortable showers anywhere.
Build Custom Storage Solutions That Fit Your Space
When you’re working with limited square footage in a tiny camper, every inch counts for storage.
You’ll need to measure each nook and cranny before building custom solutions. Install overhead cabinets, under-bed drawers, and wall-mounted organizers.
Use lightweight materials like plywood and aluminum.
Create multi-functional pieces that serve dual purposes, such as benches with hidden compartments or fold-down tables with built-in shelving.
Install New Flooring That’s Durable and Easy to Clean
Since you’ll be spending considerable time in your tiny camper, you need flooring that can withstand heavy foot traffic, moisture, and temperature fluctuations.
Vinyl plank flooring offers the best combination of durability, water resistance, and easy maintenance. You’ll find it simple to install with click-lock systems that don’t require adhesive.
Choose options with textured surfaces that prevent slipping when wet.
Create Multi-Functional Furniture and Seating Areas
While maximizing every square foot in your tiny camper, you’ll discover that traditional furniture simply won’t cut it.
You’ll need convertible pieces that serve multiple purposes. Install a dinette that transforms into a bed, build storage benches with hidden compartments, and mount folding tables to walls.
Choose lightweight materials that won’t add unnecessary weight, and guarantee each piece serves at least two functions.
Design an Efficient Kitchen Setup for Small Spaces
Your kitchen demands the same space-saving strategies you’ve applied to your furniture, but with extra attention to functionality and safety.
Install a compact sink with a cutting board cover that doubles as counter space.
Mount magnetic strips for knives and spice containers on walls.
Choose a two-burner stove that fits over your sink, and store collapsible cookware in overhead compartments.
Remove Old Fixtures and Strip the Interior Down to Basics
Strip away everything that isn’t bolted to the frame—this is where your camper transformation truly begins.
You’ll need to remove cabinets, countertops, flooring, and wall panels. Take photos before dismantling anything, as they’ll serve as valuable references later.
Work systematically from top to bottom, labeling hardware in bags.
Add Personal Touches With Paint, Fabrics, and Décor
Three key elements transform your functional camper into a personalized retreat: paint, fabrics, and décor.
Choose light, moisture-resistant paint colors to brighten tight spaces.
Select washable, durable fabrics for curtains and cushions that complement your color scheme.
Add wall-mounted décor, removable wallpaper, or peel-and-stick tiles for visual interest. These affordable updates create a cohesive, inviting atmosphere that reflects your unique style.
Test All Systems and Prepare for Your First Adventure
Before hitting the road in your newly remodeled camper, you’ll need to thoroughly test every system to guarantee safe and comfortable travels.
Check electrical connections, water lines, and gas appliances. Run the air conditioner, heater, and refrigerator for several hours. Test all lights, outlets, and switches.
Fill water tanks completely, checking for leaks. Once everything’s working properly, you’re ready to explore.
Conclusion
You’ve transformed your tiny camper from a diamond in the rough into a personalized retreat. Through careful planning, budget management, and hands-on work, you’ve gained valuable DIY skills.
Now it’s time to hit the road and enjoy your creation. Remember, remodeling isn’t just about the destination—it’s about learning through each challenge.
Your newly renovated camper stands ready for countless adventures, proving that determination and methodical effort can overcome inexperience.