You’re about to transform your small camper, but without a proper plan, you’ll waste money and time on mistakes that could’ve been avoided.
Whether you’ve bought a vintage trailer or inherited a weathered RV, knowing exactly where to start—and what can wait—makes the difference between a successful renovation and a costly disaster.
The right checklist doesn’t just organize your project; it protects your investment.
Start With a Thorough Inspection and Documentation

Before you plunge into demolition or start shopping for materials, you’ll need to assess your camper’s current condition through a thorough inspection.
Document water damage, structural issues, and electrical problems with photos and notes. Check the roof, walls, floors, and windows for leaks or rot.
This detailed record becomes your renovation roadmap, helping you prioritize repairs and create an accurate budget.
RELATED: 21 Genius Camping Setup Ideas for a Cozy and Organized Campsite!
Create Your Budget and Priority List

Three essential factors will shape your renovation budget: the camper’s current condition, your skill level, and your desired end result.
You’ll need to account for materials, tools, and potential contractor fees. List necessary repairs first, then cosmetic upgrades.
Allocate 20% extra for unexpected issues. Track prices at multiple suppliers and consider quality versus cost.
Document everything to avoid overspending and maintain focus.
RELATED: 18 Glamping-Style Camping Setup Ideas for a Luxe Outdoor Experience!
Essential Safety Checks and Repairs

Now that you’ve established your budget and priorities, you’re ready to inspect your camper’s safety systems and make critical repairs.
Check your propane lines for leaks using soapy water, test all smoke and carbon monoxide detectors, and examine electrical wiring for damage.
Don’t forget to inspect wheel bearings, brake systems, and tire conditions.
These repairs aren’t optional—they’re essential for your safety on the road.
RELATED: 19 Cute and Functional Camping Trailer DIY Remodel Ideas!
Structural Repairs and Reinforcements

After you’ve completed safety checks, you’ll need to assess your camper’s structural integrity for hidden damage and wear.
Check floor joists for rot, especially near plumbing areas. Inspect wall studs and ceiling supports for water damage or cracks.
Test all joints and seams for stability. Reinforce weak spots with metal brackets, wood braces, or fiberglass patches before continuing your renovation project.
RELATED: How to Remodel a Tiny Camper With No Experience — Step-by-Step!
Water Damage Assessment and Solutions
Since water damage is the leading cause of structural failure in RVs, you’ll want to conduct a thorough inspection before starting any cosmetic work.
Check all window seals, roof seams, and plumbing connections for leaks. Look for soft spots in floors, walls, and ceilings.
If you find damage, remove affected materials completely, treat with fungicide, and replace with moisture-resistant alternatives.
Electrical System Evaluation and Upgrades

With water damage addressed, you’ll need to evaluate your camper’s electrical system to verify it’s safe and meets your power needs.
Check the breaker panel, outlets, and wiring for corrosion or damage. Test all circuits with a multimeter, and consider upgrading to LED lighting for efficiency.
If you’re adding solar panels or inverters, confirm your system can handle the increased load.
RELATED: Our $500 Small Camper Makeover That Looks Like a Designer Did It!
Plumbing Updates and Improvements

Once your electrical system is functioning properly, you’ll want to inspect your camper’s plumbing for leaks, cracks, and worn components that could cause water damage.
Check all connections, faucets, and water lines carefully. Replace deteriorating seals, upgrade to flexible PEX piping if needed, and consider installing a water pressure regulator.
Don’t forget to winterize your system properly to prevent freeze damage during storage.
RELATED: 24 Small Camper Renovation Ideas That Add Serious Function & Value!
Insulation and Climate Control Planning

After addressing your plumbing system, you’ll need to evaluate your camper’s insulation and climate control to guarantee year-round comfort.
Check walls, floors, and ceilings for gaps or deteriorating insulation. Consider upgrading to spray foam or rigid board insulation for better R-values.
Plan ventilation fan placement, assess your heating and cooling needs, and budget for energy-efficient solutions that’ll maintain comfortable temperatures in any season.
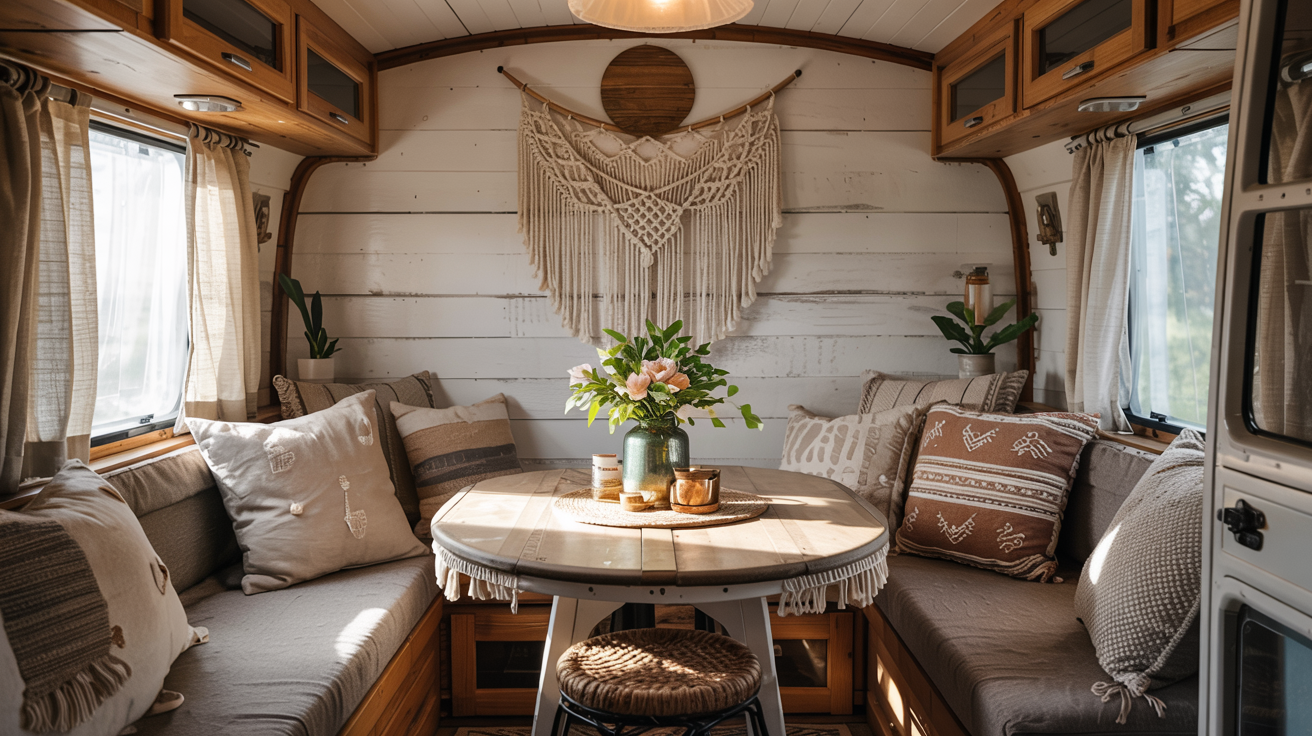
Interior Layout Design and Space Optimization

Before you start building or buying furniture, you’ll want to create a detailed floor plan that maximizes every square inch of your camper’s interior.
Measure your space precisely, then sketch multiple layout options. Consider traffic flow, storage accessibility, and multi-functional furniture placement.
You’ll need to balance living, sleeping, and cooking areas while maintaining comfortable movement paths.
Flooring Selection and Installation Tips

When you’re ready to upgrade your camper’s flooring, you’ll need to choose materials that can withstand moisture, temperature changes, and heavy foot traffic.
Vinyl planks offer excellent durability and water resistance at reasonable prices. Consider self-adhesive options for easier installation.
Measure twice, cut once, and verify your subfloor’s level before starting. Leave small expansion gaps around edges to prevent buckling during temperature shifts.
Wall and Ceiling Treatments That Work

Since you’re working in a confined space, wall and ceiling treatments in your camper need to balance weight, moisture resistance, and ease of installation.
You’ll want lightweight materials like vinyl planks, peel-and-stick shiplap, or fabric panels. These options won’t add excessive weight while providing durability against condensation.
Consider using adhesive-backed products to avoid drilling, which preserves your camper’s structural integrity and simplifies installation.
Storage Solutions for Tiny Spaces

Three key strategies will transform your camper’s limited square footage into an organized, functional living space.
First, you’ll maximize vertical surfaces with wall-mounted organizers and magnetic strips.
Second, invest in collapsible containers that nest when empty.
Third, create multi-purpose furniture with built-in compartments.
These solutions double your storage capacity without sacrificing precious floor space or mobility inside your renovated small camper.
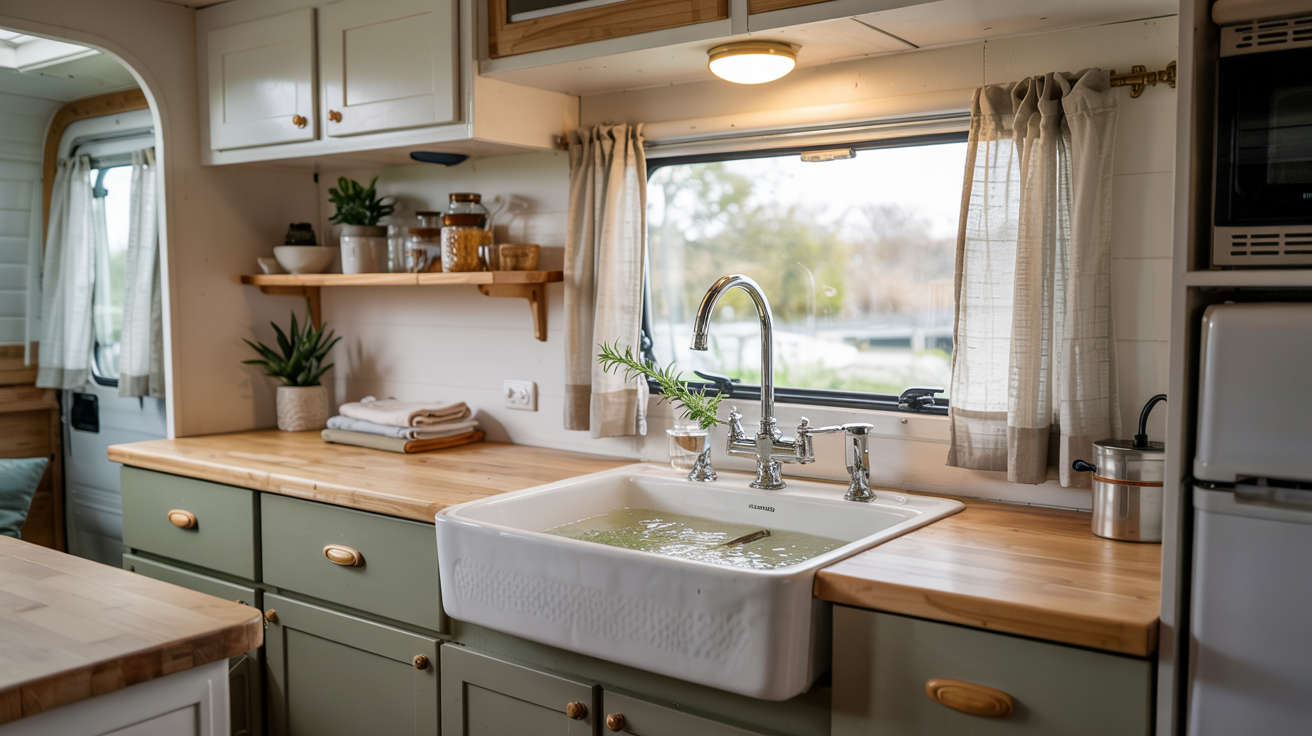
Kitchen and Bathroom Renovation Essentials

Before tackling kitchen and bathroom renovations in your small camper, you’ll need to prioritize functionality over aesthetics in these compact, high-use areas.
Focus on water-resistant materials, efficient fixtures, and proper ventilation systems. Consider lightweight composite countertops, marine-grade plumbing, and collapsible sinks.
Install LED lighting to conserve power, and choose antimicrobial surfaces that’ll withstand moisture while maximizing every square inch of available space.
Lighting and Power Management Strategies

When you’re renovating your small camper’s electrical system, you’ll discover that proper lighting and power management can make or break your off-grid adventures.
Start by installing LED lights throughout, which consume 75% less power than traditional bulbs. Add dimmer switches for ambiance control.
Calculate your daily power needs, then size your battery bank accordingly. Consider solar panels and a quality charge controller for sustainable energy independence.
Finishing Touches and Personalization Ideas

Once you’ve completed the major renovations, it’s time to transform your camper from a functional space into a personalized home on wheels.
Add throw pillows, lightweight curtains, and removable wall decals that reflect your style.
Install magnetic strips for organizing tools, hang fairy lights for ambiance, and incorporate small plants in secure holders.
These affordable touches make your camper uniquely yours while maintaining functionality.
Conclusion
You’ve reached the end of your renovation journey just as camping season begins—what a coincidence that timing works out perfectly.
Your small camper transformation doesn’t require perfection, but it does demand attention to safety, functionality, and smart budgeting.
Follow this checklist systematically, and you’ll create a comfortable space that reflects your style while staying within financial limits.
Most importantly, remember that each improvement, no matter how small, brings you closer to memorable adventures ahead.